New To 3D-printing

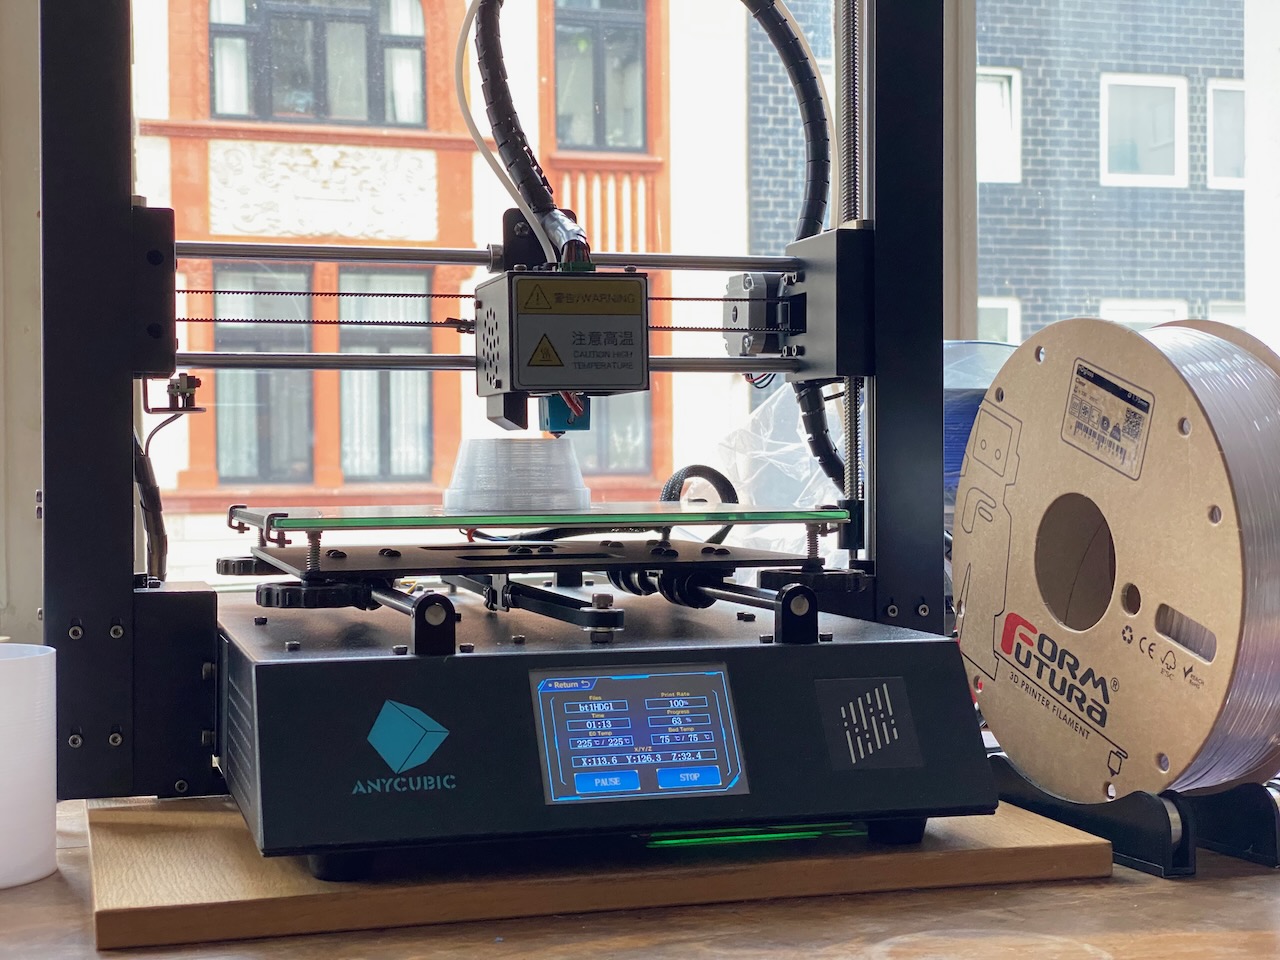
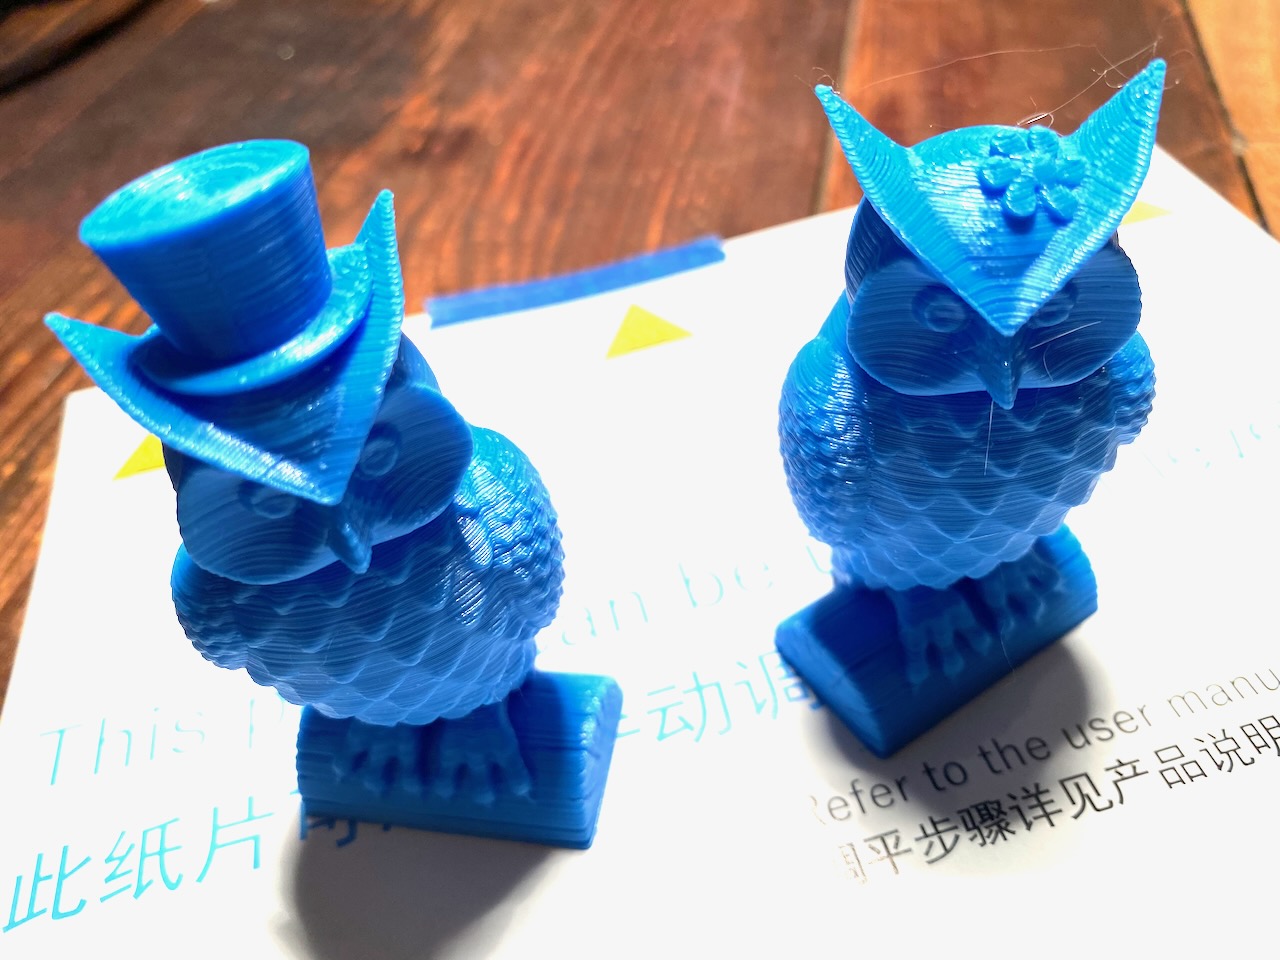
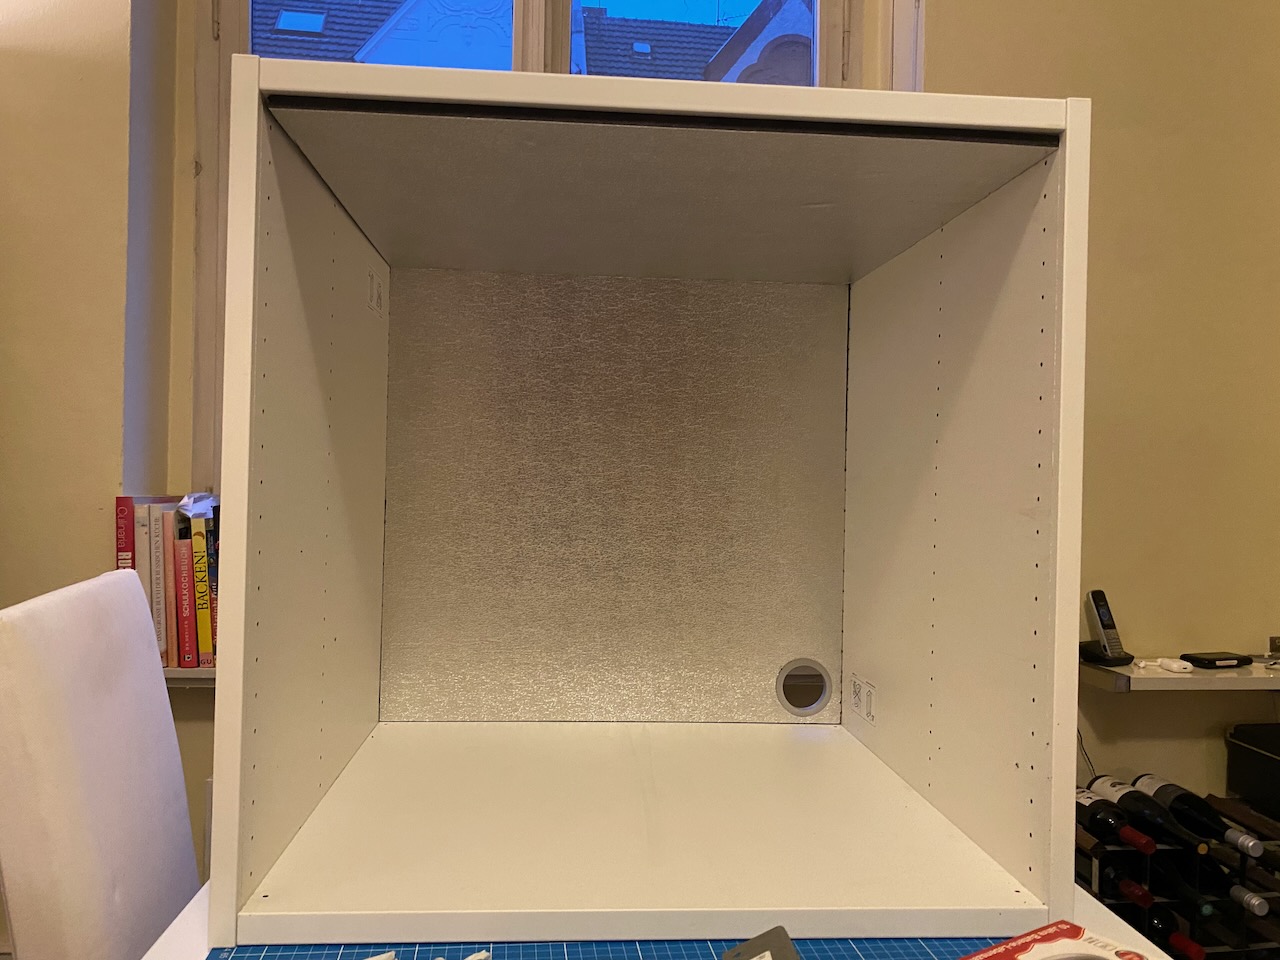
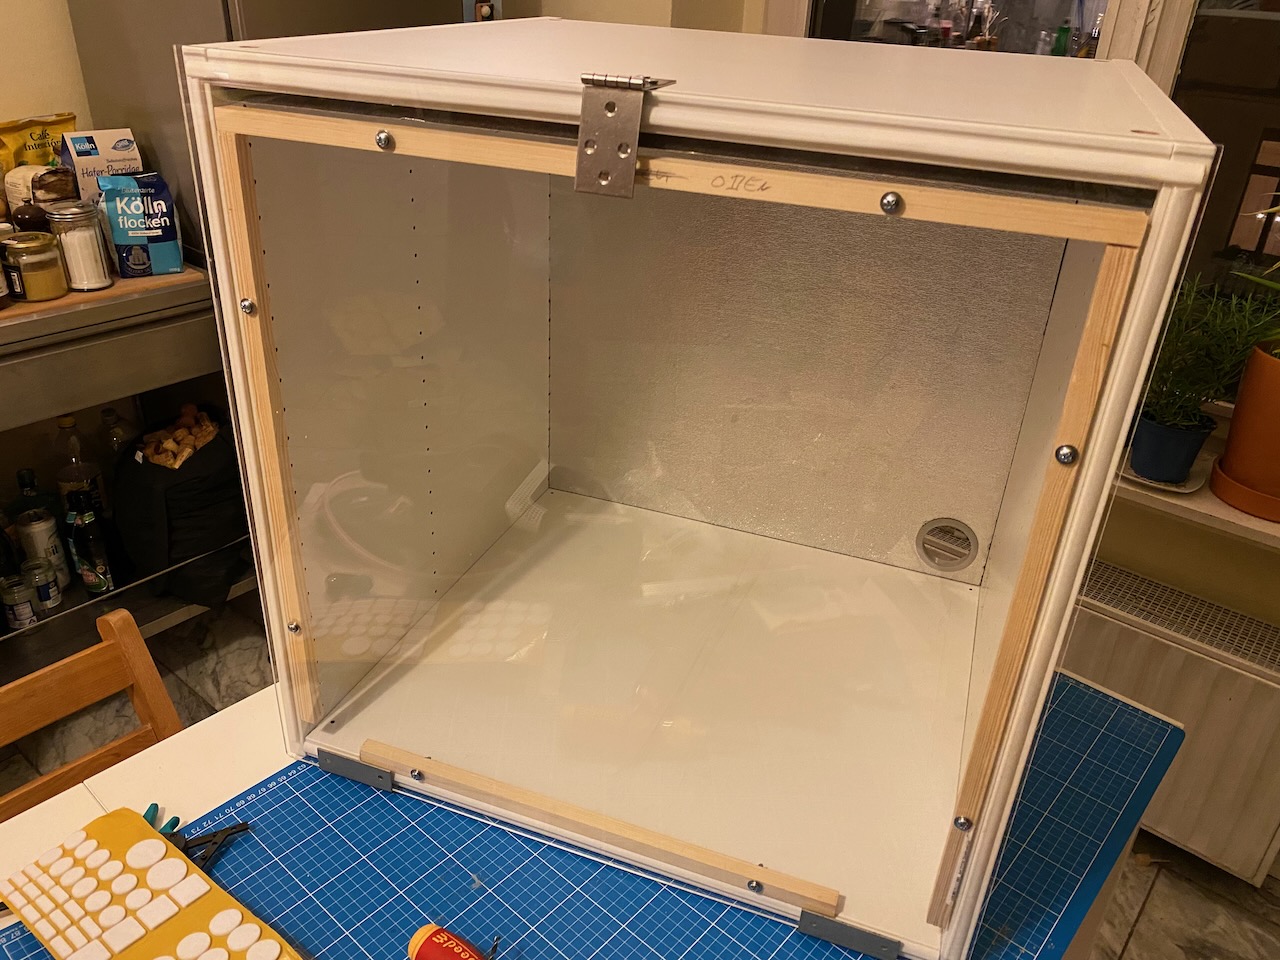
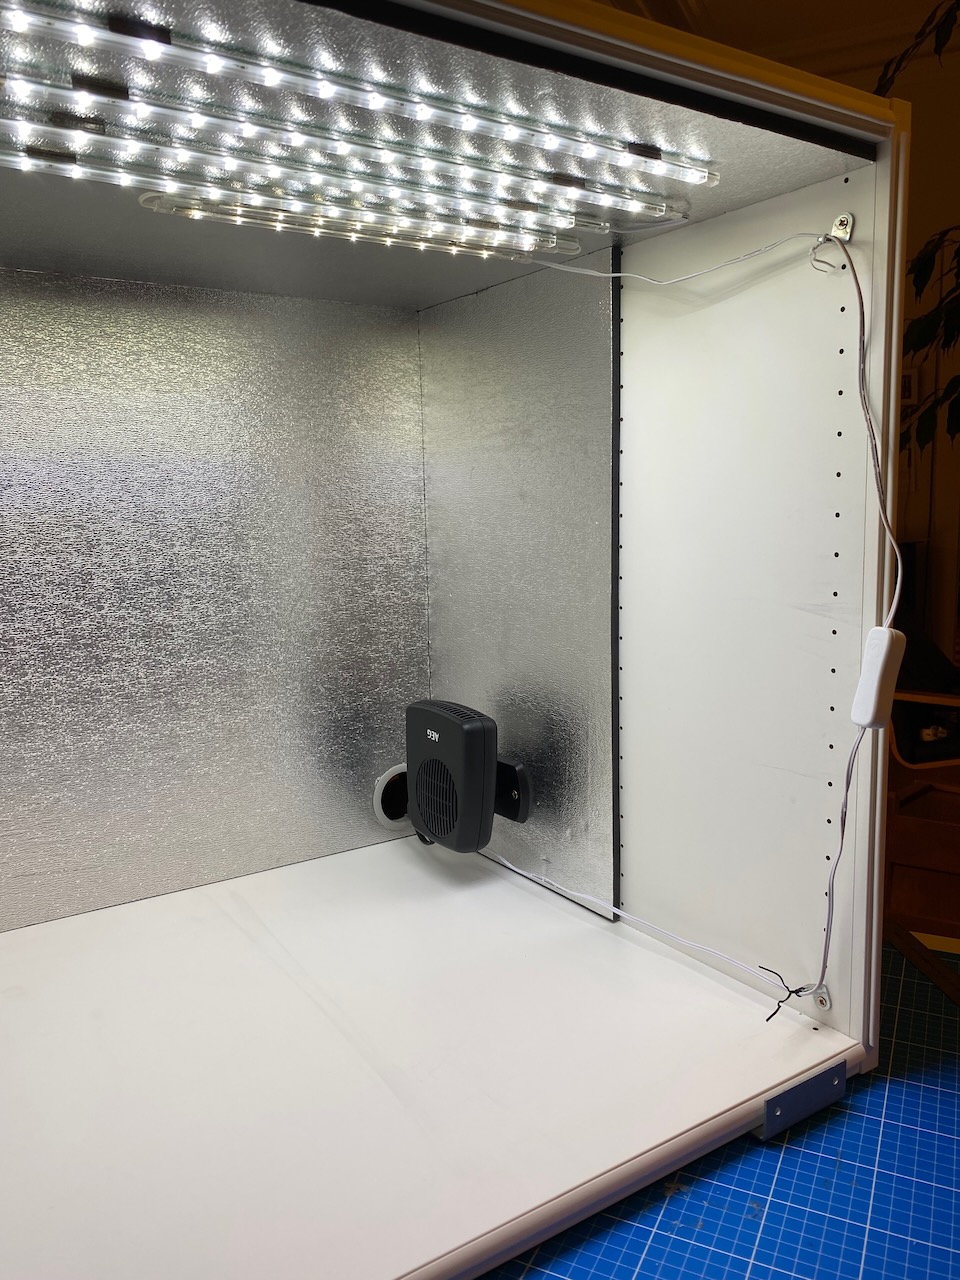
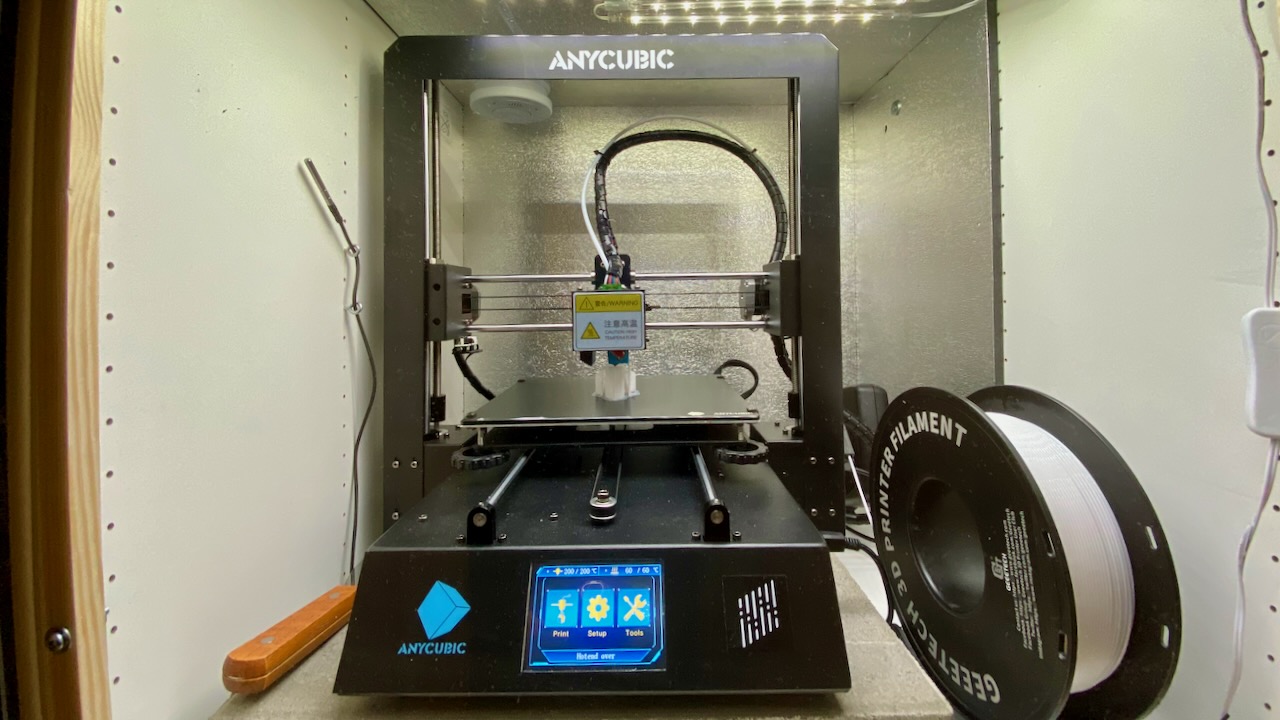
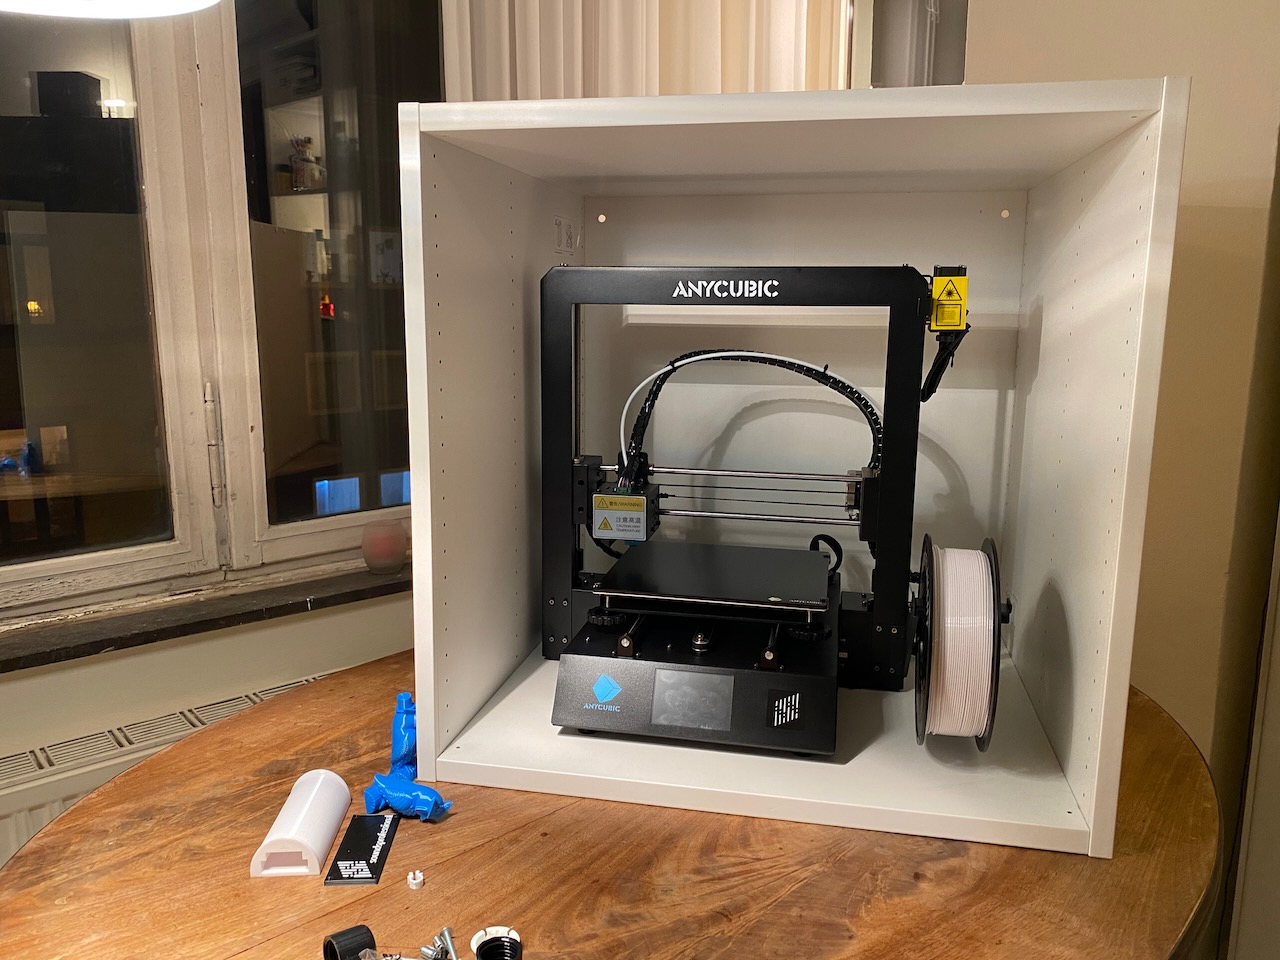
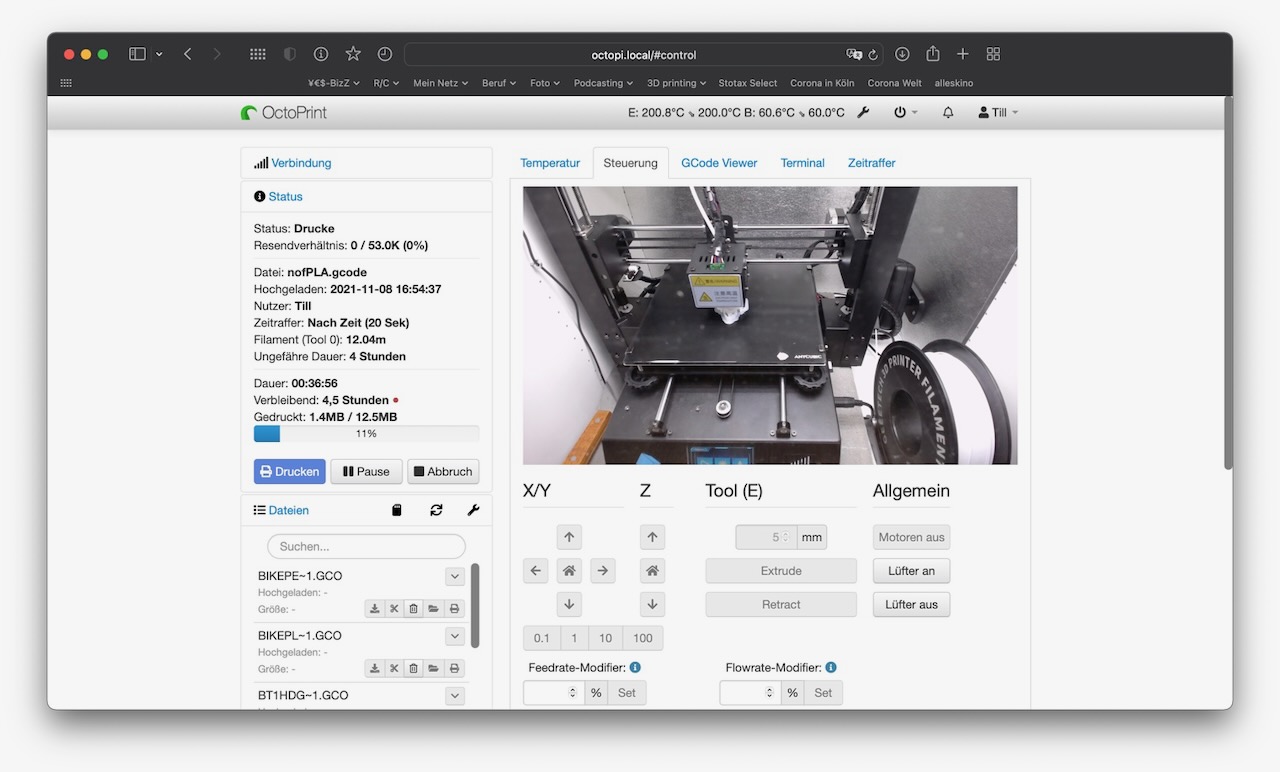
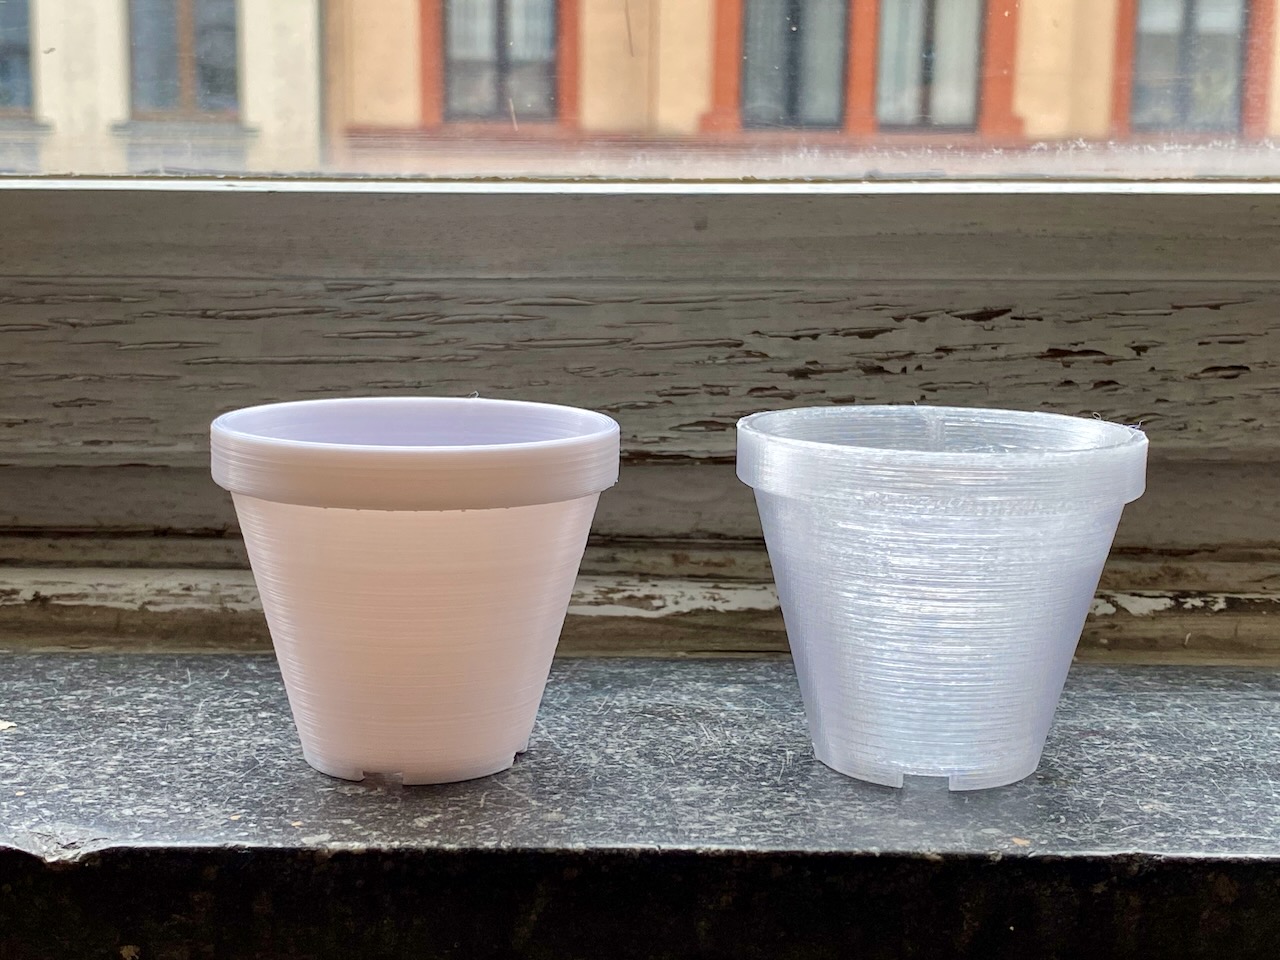
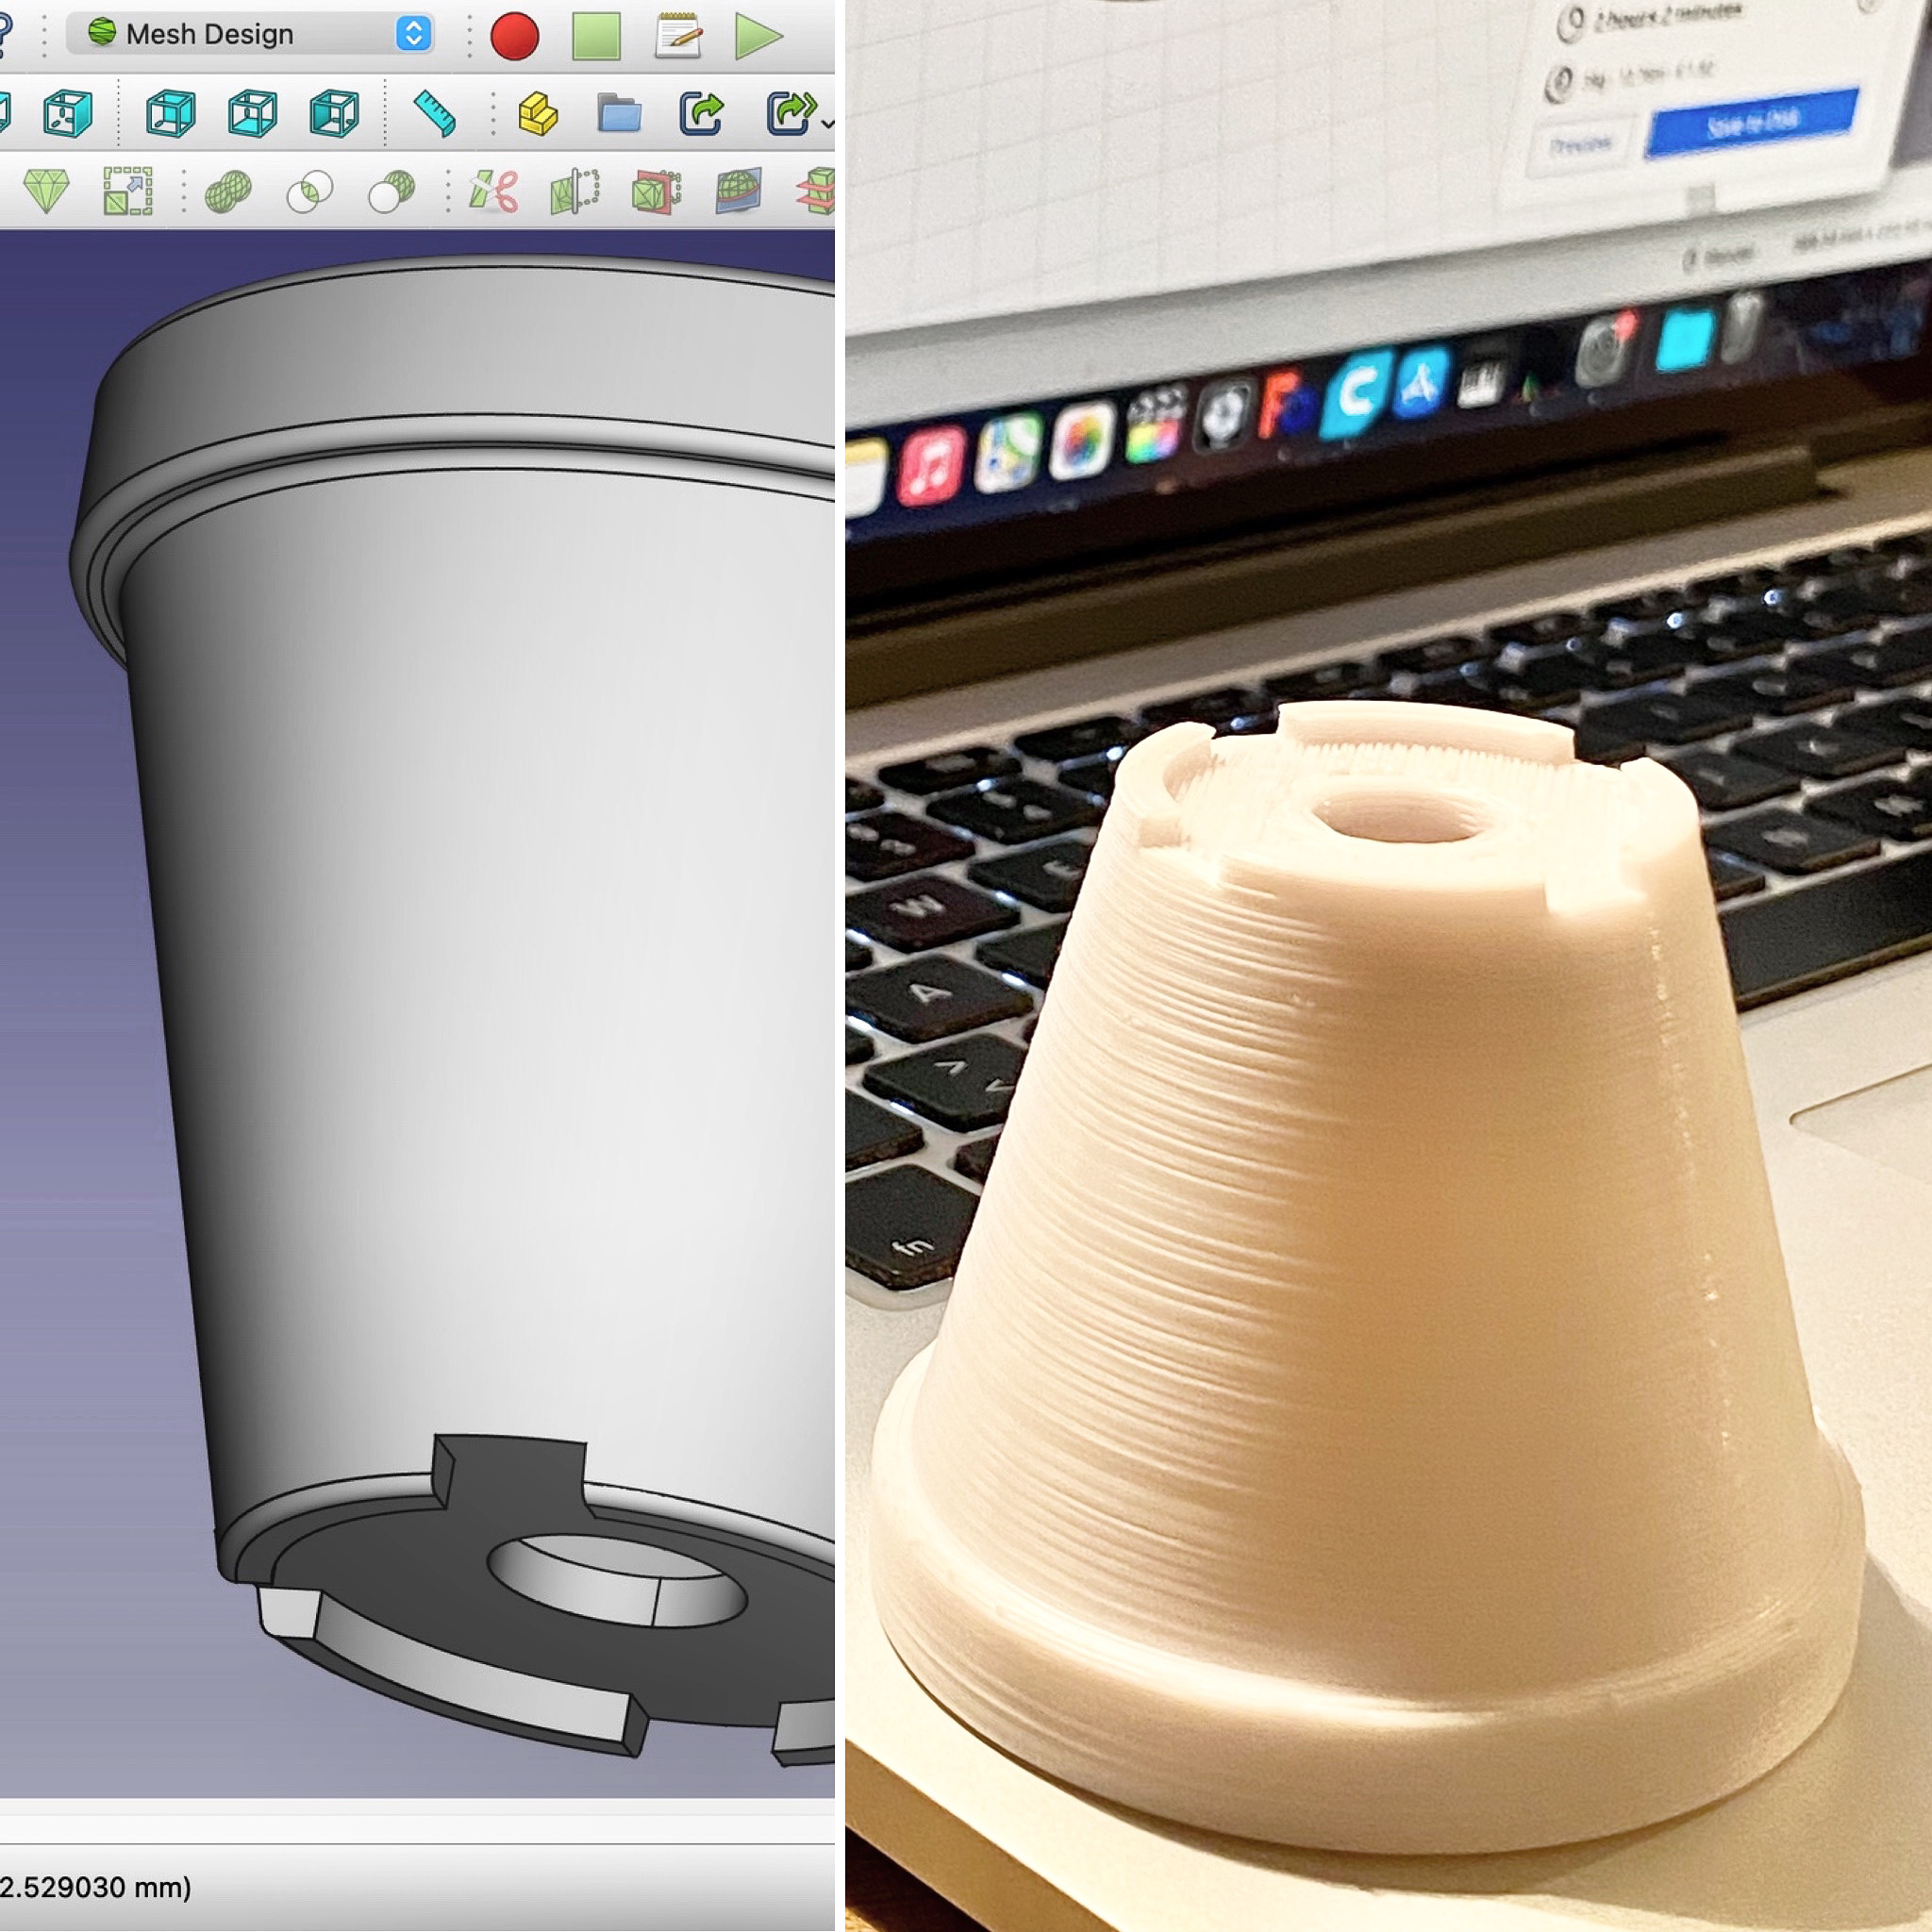
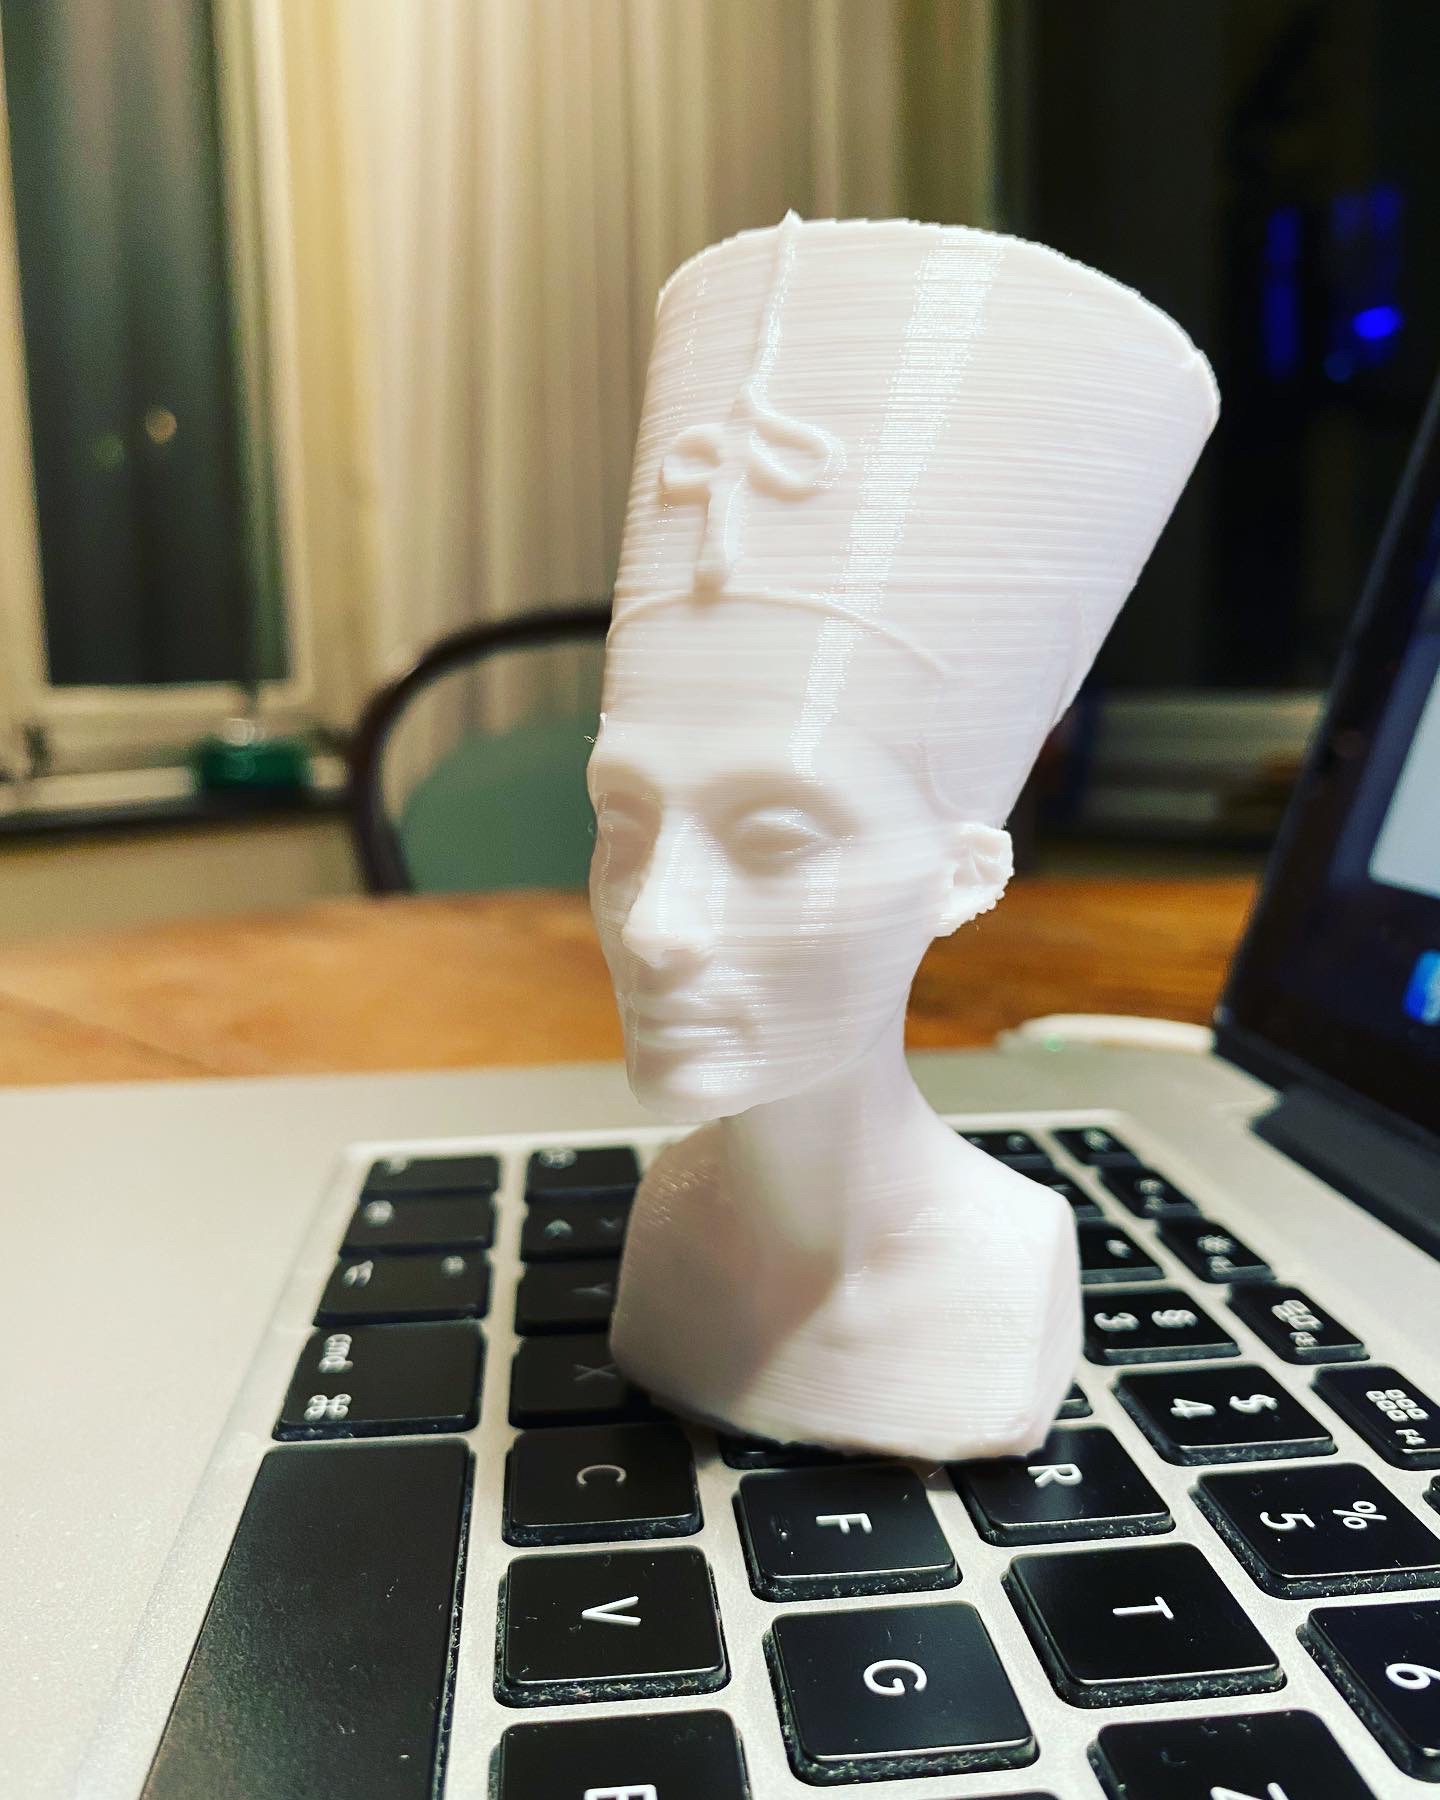
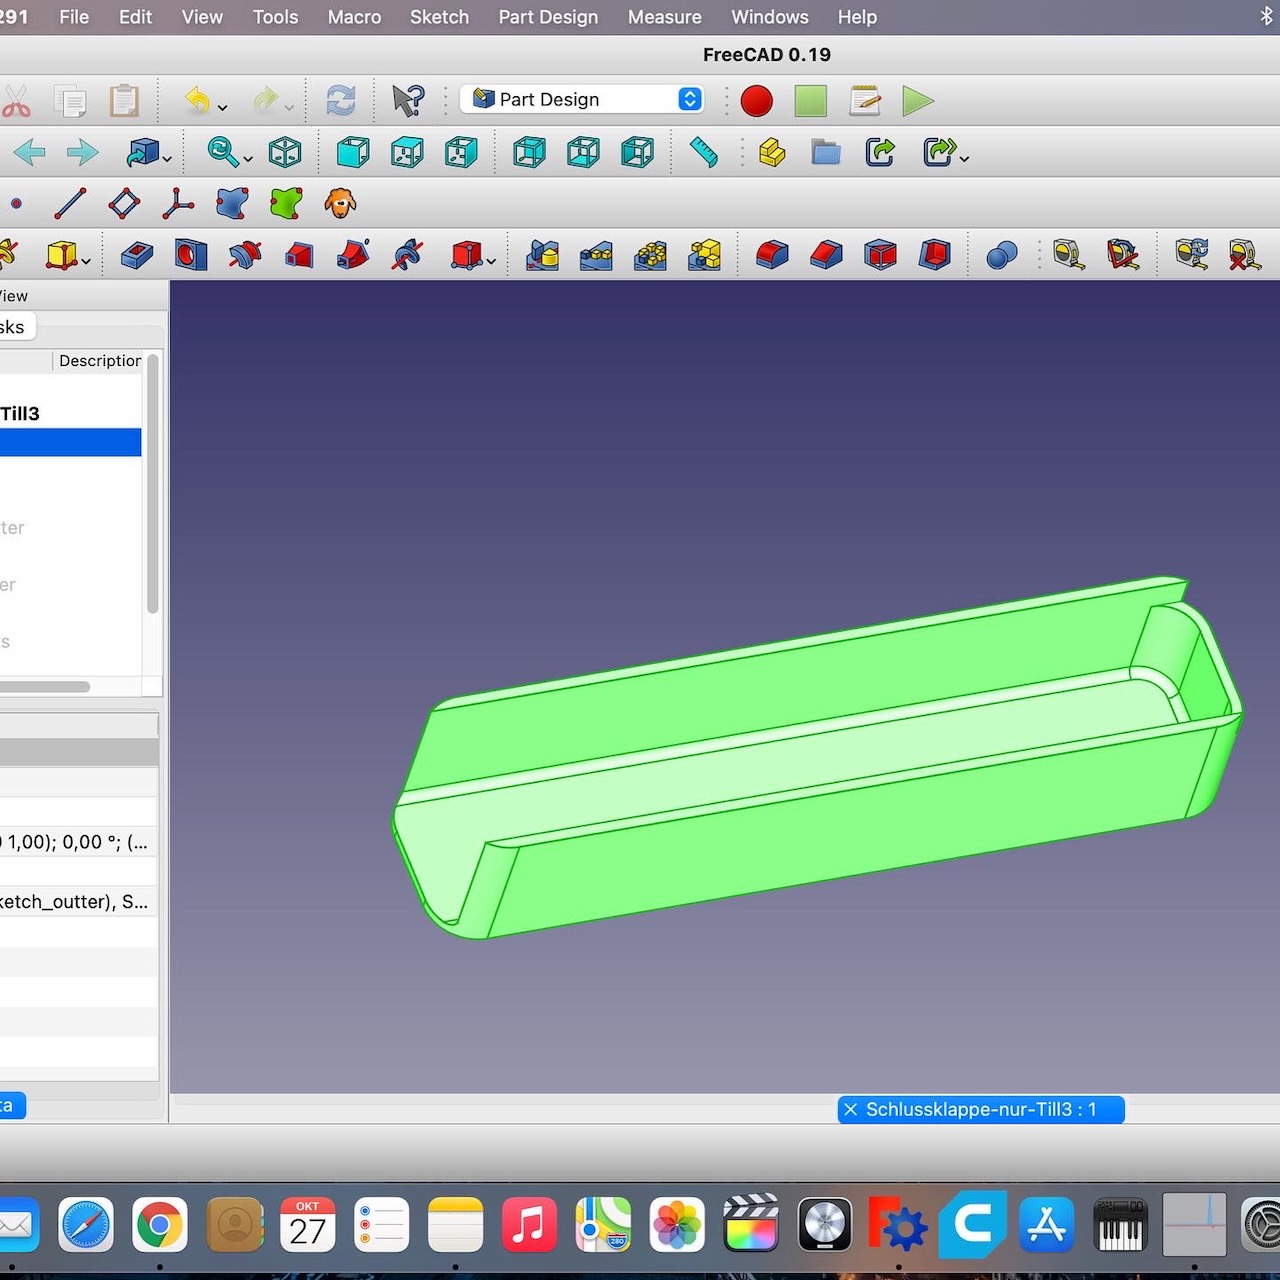
Recently I bought an Anycubic Mega Pro 3D filament printer to start my foray into the world that 3d-printing is. After unboxing and assembling it, I built a nice heated enclosure for it and set up Octoprint on a Raspberry Pi. Along with learning how to work with different filaments and temperatures and what-not, I also started watching tutorials on FreeCAD. The first real project I want to complete is an enclosure and keyboard for a X80-based mini computer a friend of mine built.

Apple TimeCapsule HDD replacement

After the internal hdd of my Apple Time Capsule router/backup network drive died, I decided to try to open the searingly seamless enclosure and replace the drive. First, the rubber base has to be heated up with a hot air gun carefully to loosen the glue. When it ist hot but not too hot it can be peeled off pretty easily. Underneath are simple PH1 screws that hold the metal base plate in place. With the network ports facing you, tilt this base plate to your right to open it and at the same time not rip off the cable to the little fan. Once the device is open, it’s time to remove the temp sensor taped to the old hdd and then unscrew the four stand-offs keeping the hdd in place. Next, remove two cables, then the hdd itself. As a replacement any 3.5” by 1” SATA drive with up to 3TB can be used.