Nixie Display (6): On The Wall!

[other parts of this series]

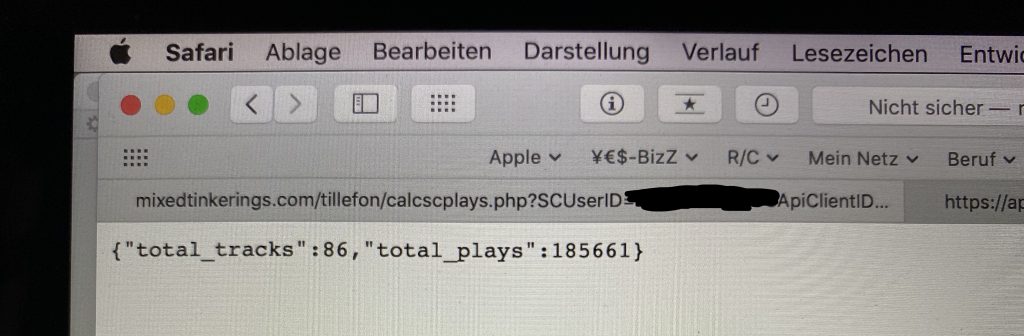
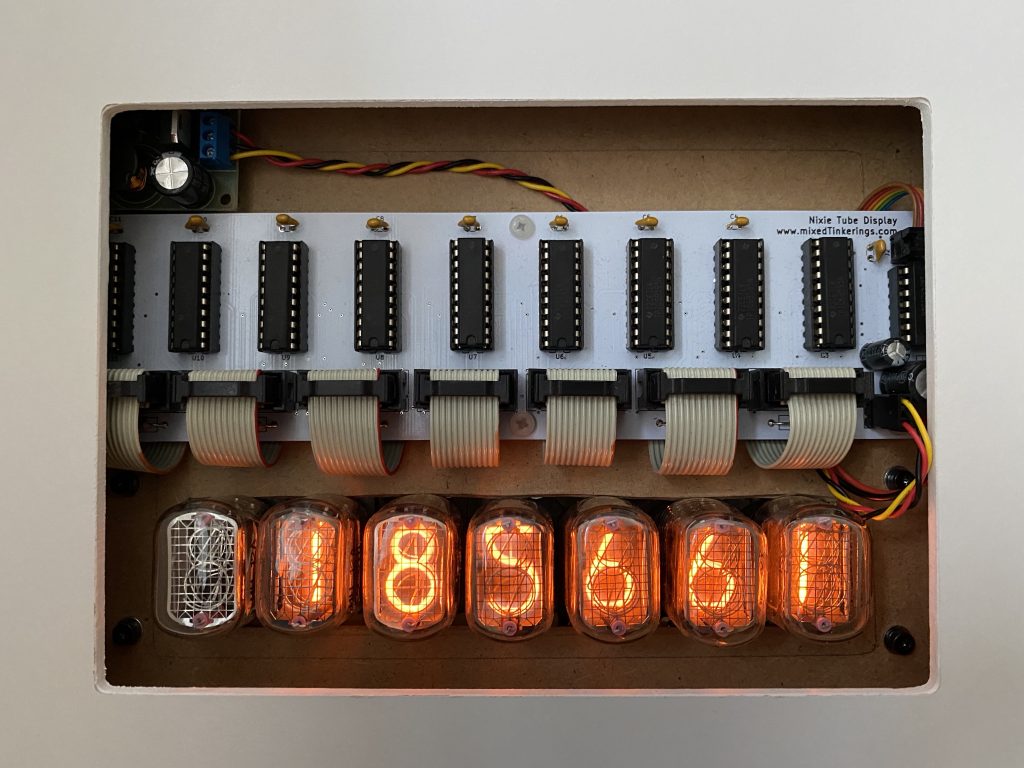
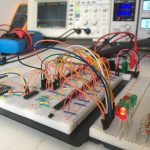
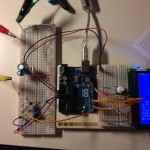
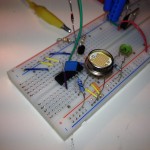
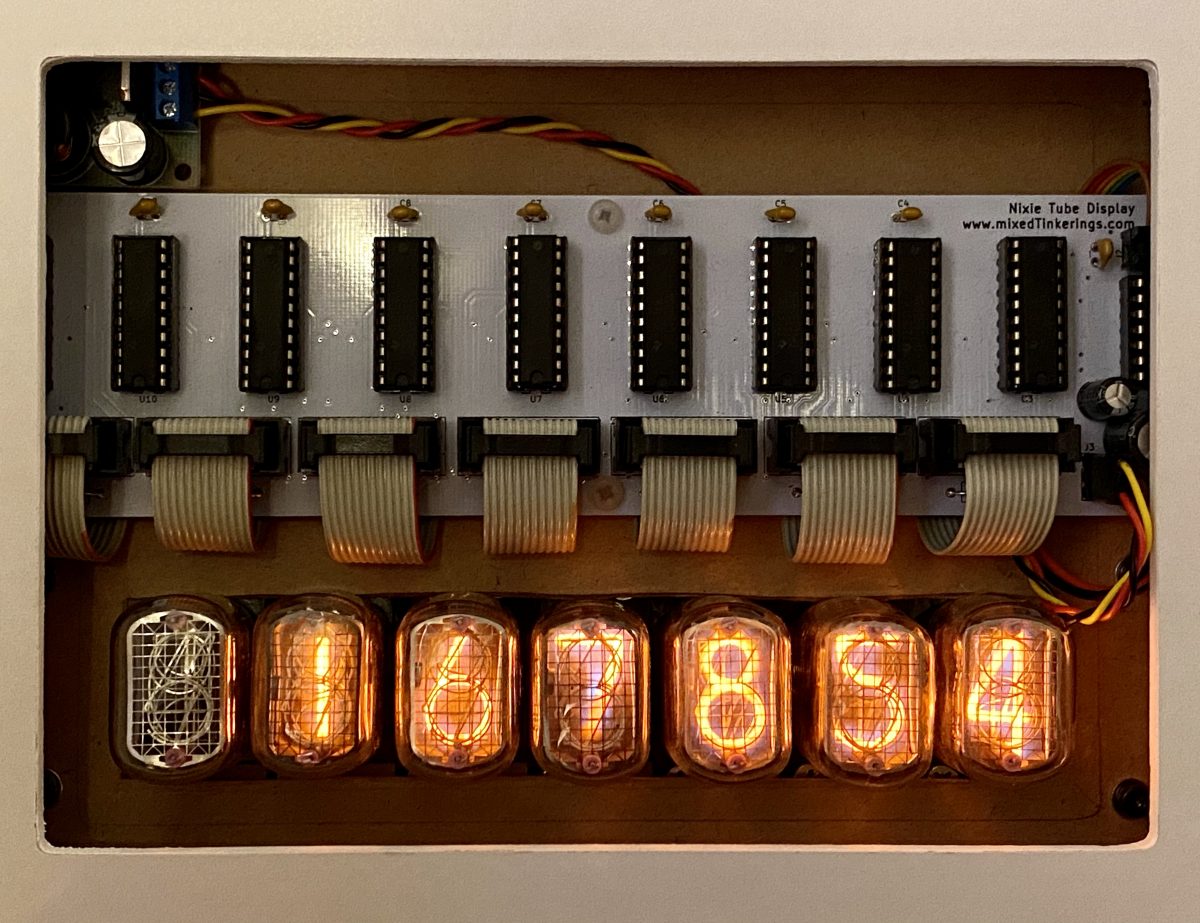
It is done! The final version of the hardware sits on my living room wall in a nice wooden frame. The software works, too! Apart from the fact that SoundCloud don’t give out new API keys to developers of apps everything works perfectly. It just means that I have to search for a new random API key myself and save it to my Arduino Programm running on the WeMos. Also I had to tweak the php script running on my webserver. Remember that the Arduino gets the actual number to display from this php script because it doesn’t have sufficient memory to calculate it on-board. So php does the “heavy lifting” for it. SoundCloud API has some wonderful quirks to work around. The list of tracks it returns for a given user has 50 entries max. If a user has more tracks, you must use a paginated variant of the API call. This way you get multiple answers. But: in the chunks of 50 tracks some of the tracks can occur in two different chunks. So you have to check if you encountered a given track ID before, and only if not save that track’s play_count.

Download the php and Arduino files:

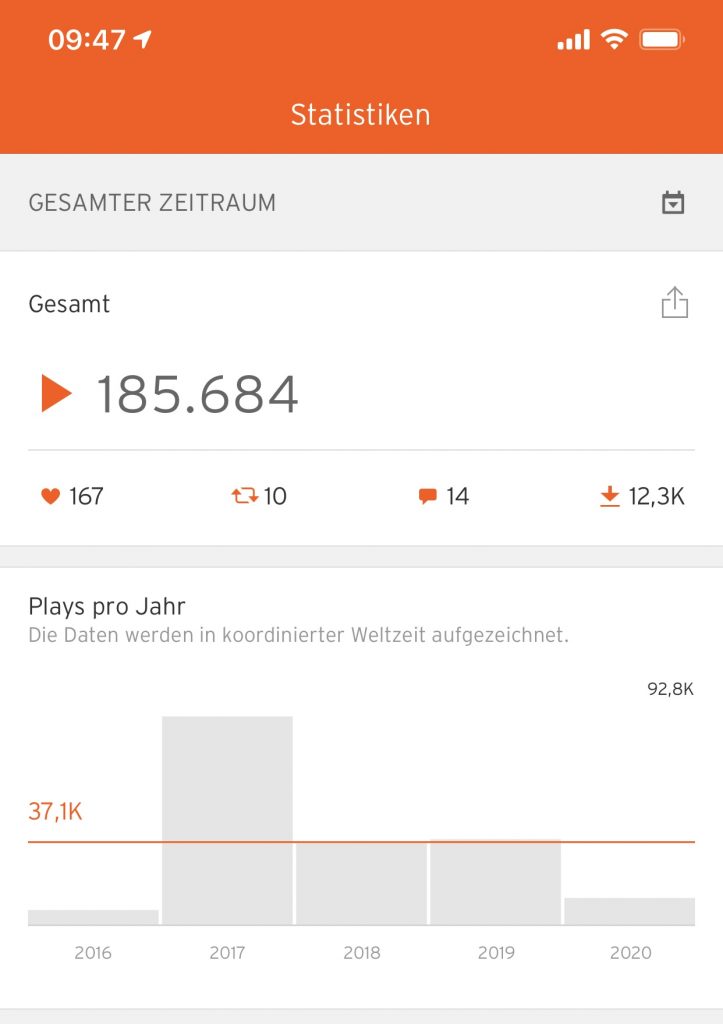
Still there remains a discrepancy between the plays my script calculates and the plays shown in the official SoundCloud “Pulse” App. This is due in to some hidden (non-public but scheduled for release) tracks that have a few plays which are not returned by the API call.

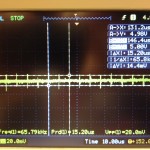
Hurra!, all is good now:

See it in action!

Nixie Display (4): Final Program and One Nixie

[other parts of this series]

By now I had two working Arduino programs (sketches) and a PHP script on my own web server. When you call it (type in it’s address: http://mixedtinkerings.com/tillefon/calcscplays.php?SCUserID=0&SCApiClientID=JlZIsxg2hY5WnBgtn3jfS0UYCl0K8DOg) the PHP script uses the SoundCloud API to retrieve JSON-formatted information about a user and a list of all of a user’s tracks. From this the script calculates the total play count of that user and gives it as a JSON-formatted object.

One of my Arduino sketches was getting this total play count from the PHP script by calling it up and put the number into a variable. The other Arduino sketch can take any given number and send it to the shift registers so that the corresponding glyphs inside the Nixie tubes light up.

Marrying the two Arduino sketches that I got working was actually easier than I thought. To test the result I added a routine that makes the Nixies count from 0 to 9 in unison. This is also helpful to prevent what is called cathode poisoning. It occurs if one of a Nixie’s glyph stays lit for too long. That’s why I make the Nixies cycle through all their glyphs overtime the total play count changes.

So far I have only added one actual Nixie tube to my breadboard test setup. I have yet to solder all the connections to the rest of my Nixies.

Download my Final Sketch

Nixie Display (3): Serializing Digits

[other parts of this series]

Next I had to come up with some Arduino methods that would take a number and make a series of 0s and 1s out of it and then output those through the pins of my chip to the shift registers that are switching the Nixie digits on and off.

This is the Arduino sketch I made. Without a lot of help of my dear friend O. I wouldn’t have made it. If you want to have a look, you can download the sketch.

I then attached some LEDs instead of the first Nixie Tube so I could check the functionality without getting involved into that horrid 160V business just yet.

first dynacho vids

Here are some random vids I made while still figuring stuff out:

(very early stage)

(still not much to see)

(Arduino won’t run)

(Arduino powered externally)

first dynacho pics

dynacho so far

arduino externally powered

I will start blogging about the current state of my dynacho project. Once it is completed I will write a full-length article about it summing it all up into one nice package.