Nixie Display (2): APIs and Parts

[other parts of this series]

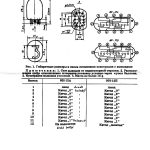
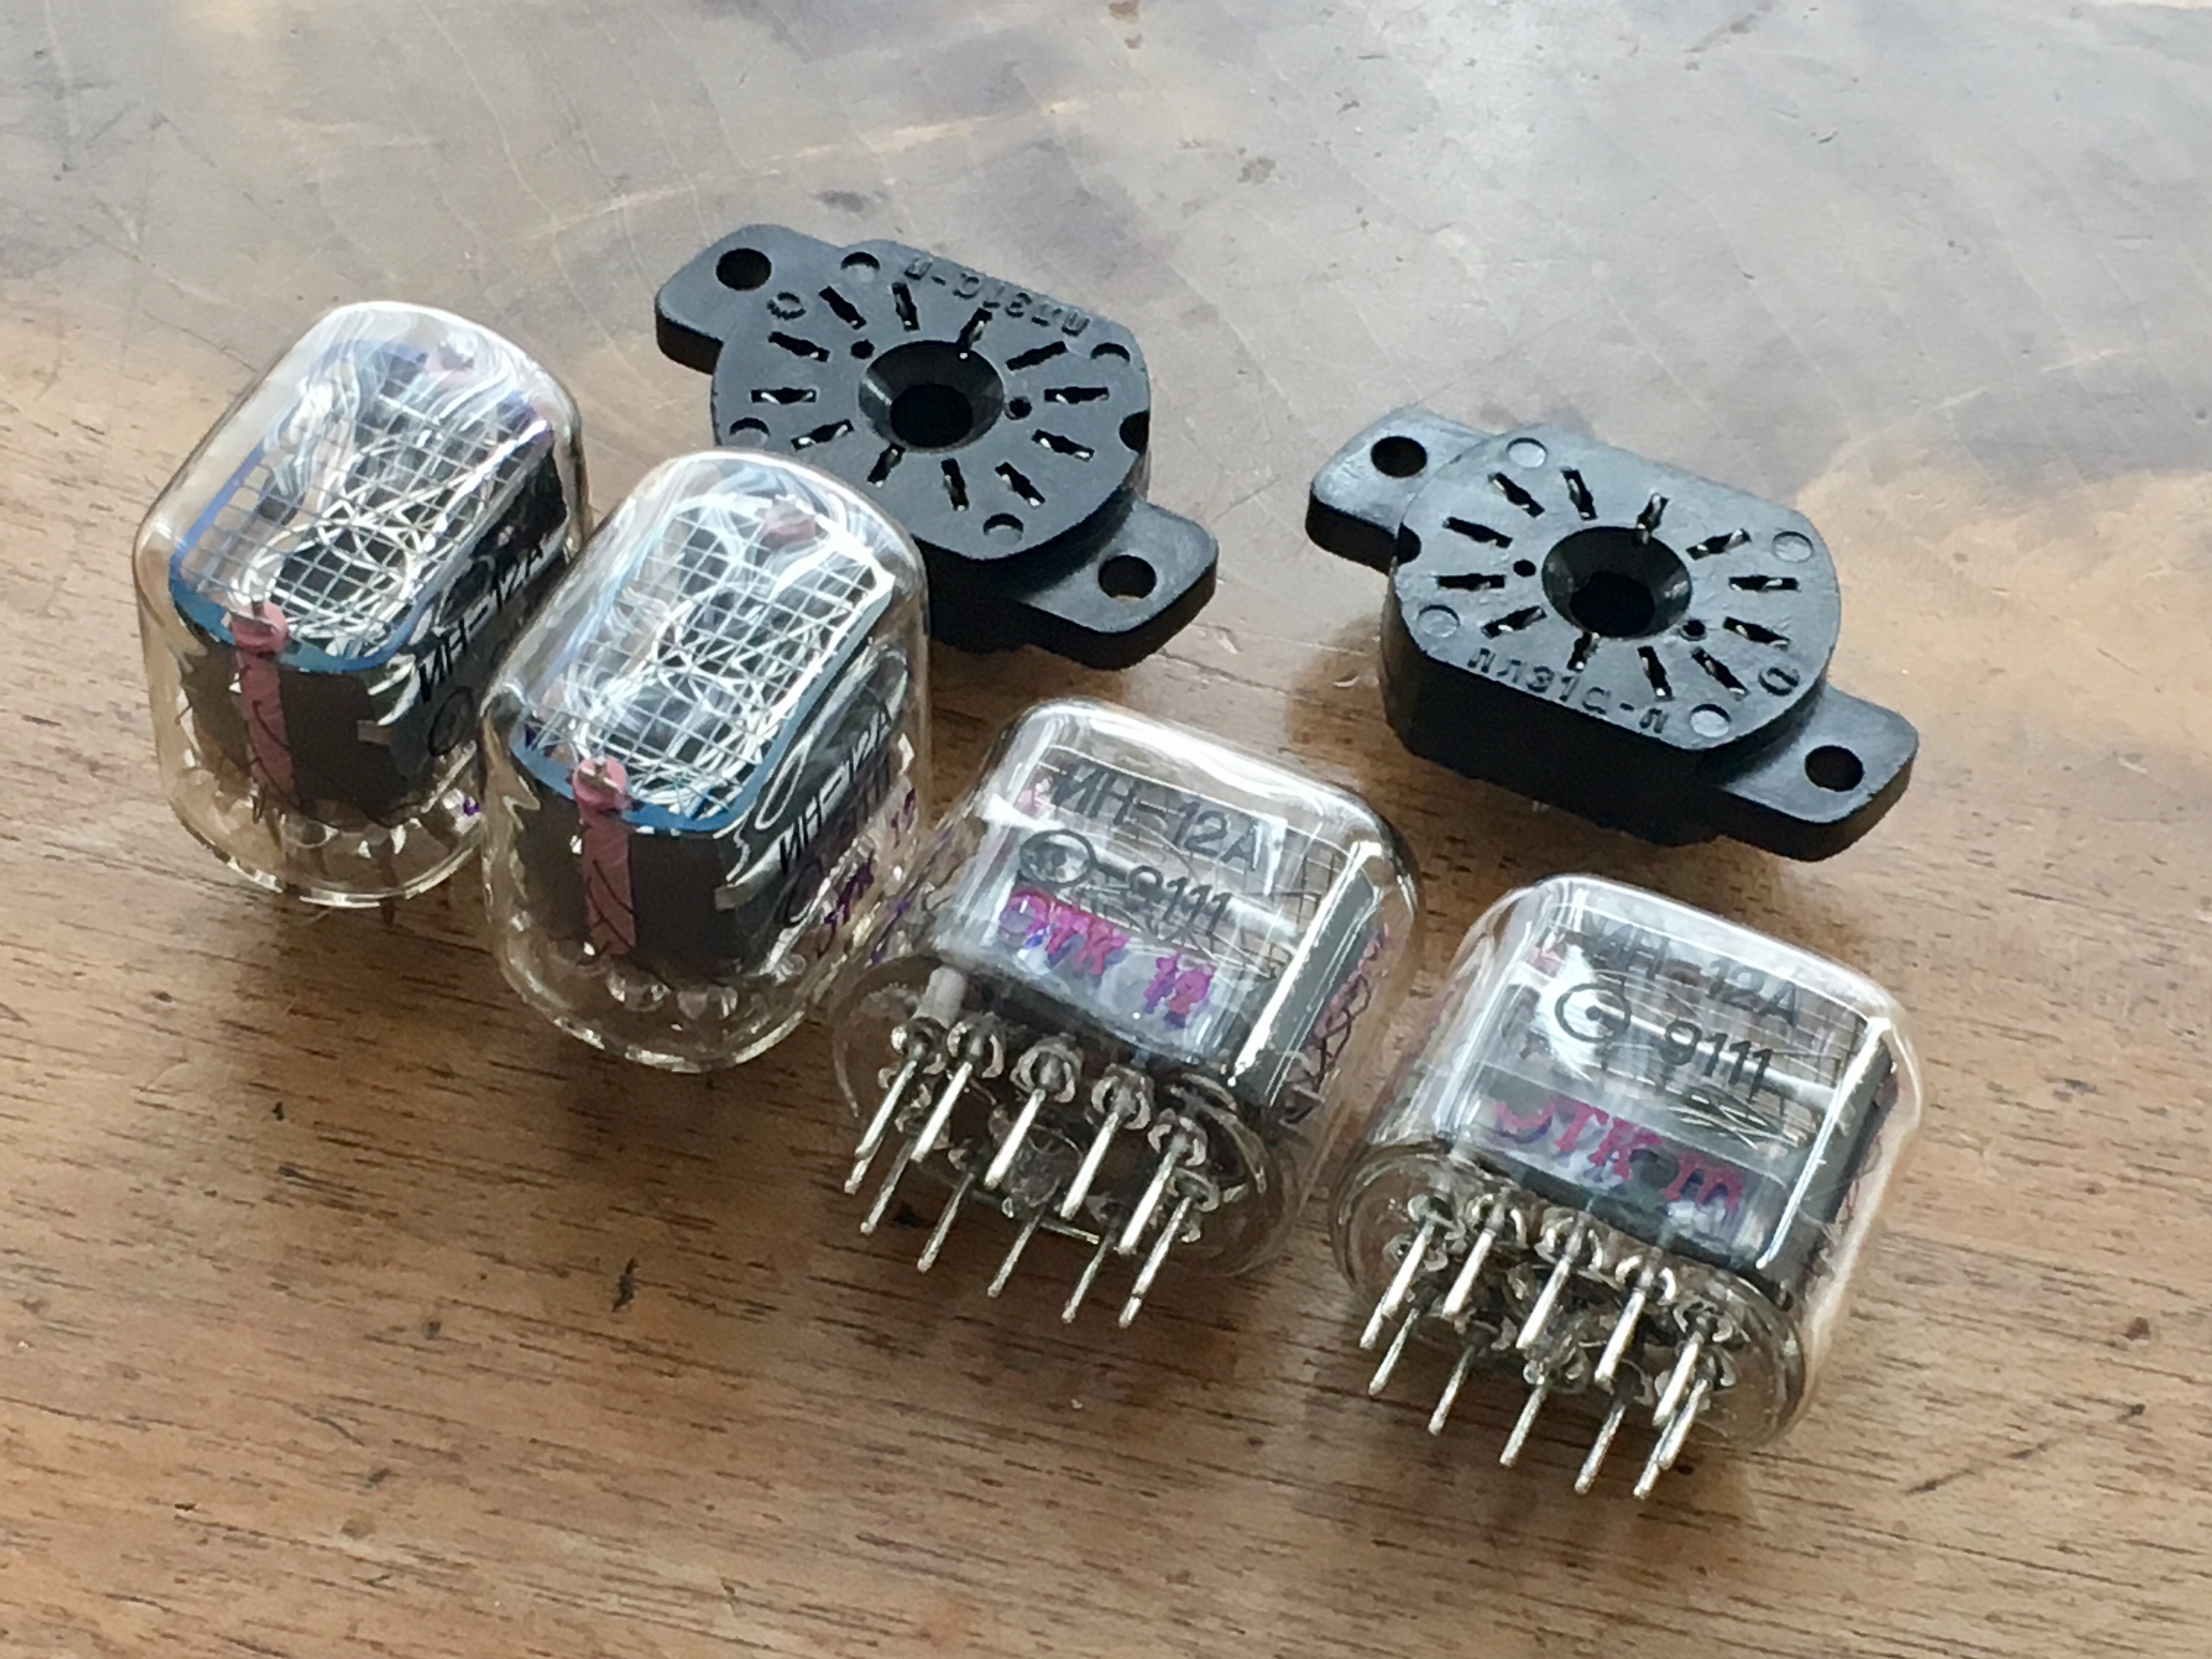
The first thing I did was go on eBay and buy twelve cheap Nixie IN-12A tubes. They don’t have the decimal point like the IN-12B but I don’t need it.

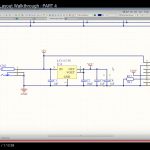
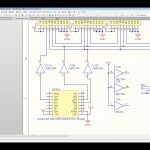
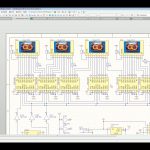
Then I watched Dave’s EEVBlog videos again quite a few times and I was able to screen capture his schematics for the electronic layout. The whole system relies on a Wemos D1 mini. This is a micro controller with built-in WiFi than can be programmed using the Arduino software on you computer. To actually switch on the Nixies which require 160V Dave found some really cheap shift registers called TPIC6B595 that can handle the high voltages.

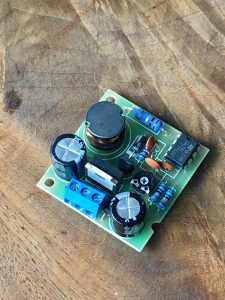
Next I bought a high voltage power supply on eBay. It was a set containing a little PCB, all the components and a manual. I had some breadboards and jumper wires still lying around at home.
While I waited for all the goodie to arrive I fired up the Arduino software on my laptop and began programming the Wemos D1 mini. The sad thing was that I couldn’t find the code that Dave had written for his own project so I was stuck having to come up with my own code. I am NOT good at this so it took me quite a while to understand what I had to do. And I’m still not done yet. But I have made some really good progress.

My research involved getting to know the SoundCloud API and learning how to get to the numbers that I need through it. Since there’s no way to ask for the total play count of a given user, I had to parse an answer that is in the JSON format that holds a huge list of all of a user’s tracks including descriptions, keywords and everything else. I had to find the number of plays for every single track in this huge mess of characters. To do this with Arduino, I installed the famous Arduino JSON library and looked at the example code they provide with it. It took me a while to figure out that the SRAM memory of the tiny micro controller I use is way too small to hold that entire string. So I failed searching or parsing the string for the entries I needed.

My brother came up with an idea for a solution to this: write a PHP script for your WordPress server, then you give it the SoundCloud user ID and your own secret API ID key handle and it returns the total number of plays! Yay! For a big server computer the parsing of a huge JSON string is no problem. And the tiny answer that it gives can be parsed by the Arduino running on the Wemos D1 mini.

Download the PHP script or try it out at
http://mixedtinkerings.com/tillefon/calcscplays.php?SCUserID=0&SCApiClientID=JlZIsxg2hY5WnBgtn3jfS0UYCl0K8DOg

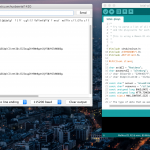
The Arduino sketch I have so far logs into my WiFi, reads the answer that my PHP script gives and prints it on the serial monitor. I am sooo happy!

Download Arduino sketch here to look at it!

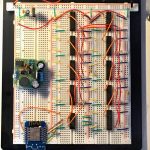
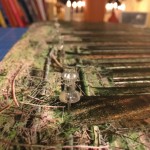
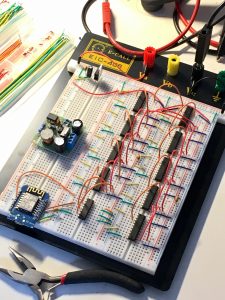
As soon as my shift registers arrived, I started to place them on my breadboards. I don’t want to connect the hight voltage yet and that’s why my next step will be using LEDs instead of all the segments of the tubes to try out if my software works. Since my software is not finished yet, I stopped putting stuff together on the breadboard so I can focus on getting the numbers out of the computer chip into the real world!
Nixie Tube Display (1): Play Counter for SoundCloud, The Idea

[other parts of this series]

I want to build a counter display that tells me how many people have hit PLAY on my track on SoundCloud in total in all times so far. The idea came to me when I watched Dave’s EEVblog Youtube video of his Nixie Tube subscriber display he made out of his YouTube silver award. Of course for SoundCloud the project has to be tweaked a little.

As I progress I will make new entries in this series of blog posts about the nixie counter display. Click here for a

list of all posts related to the Nixie display project.

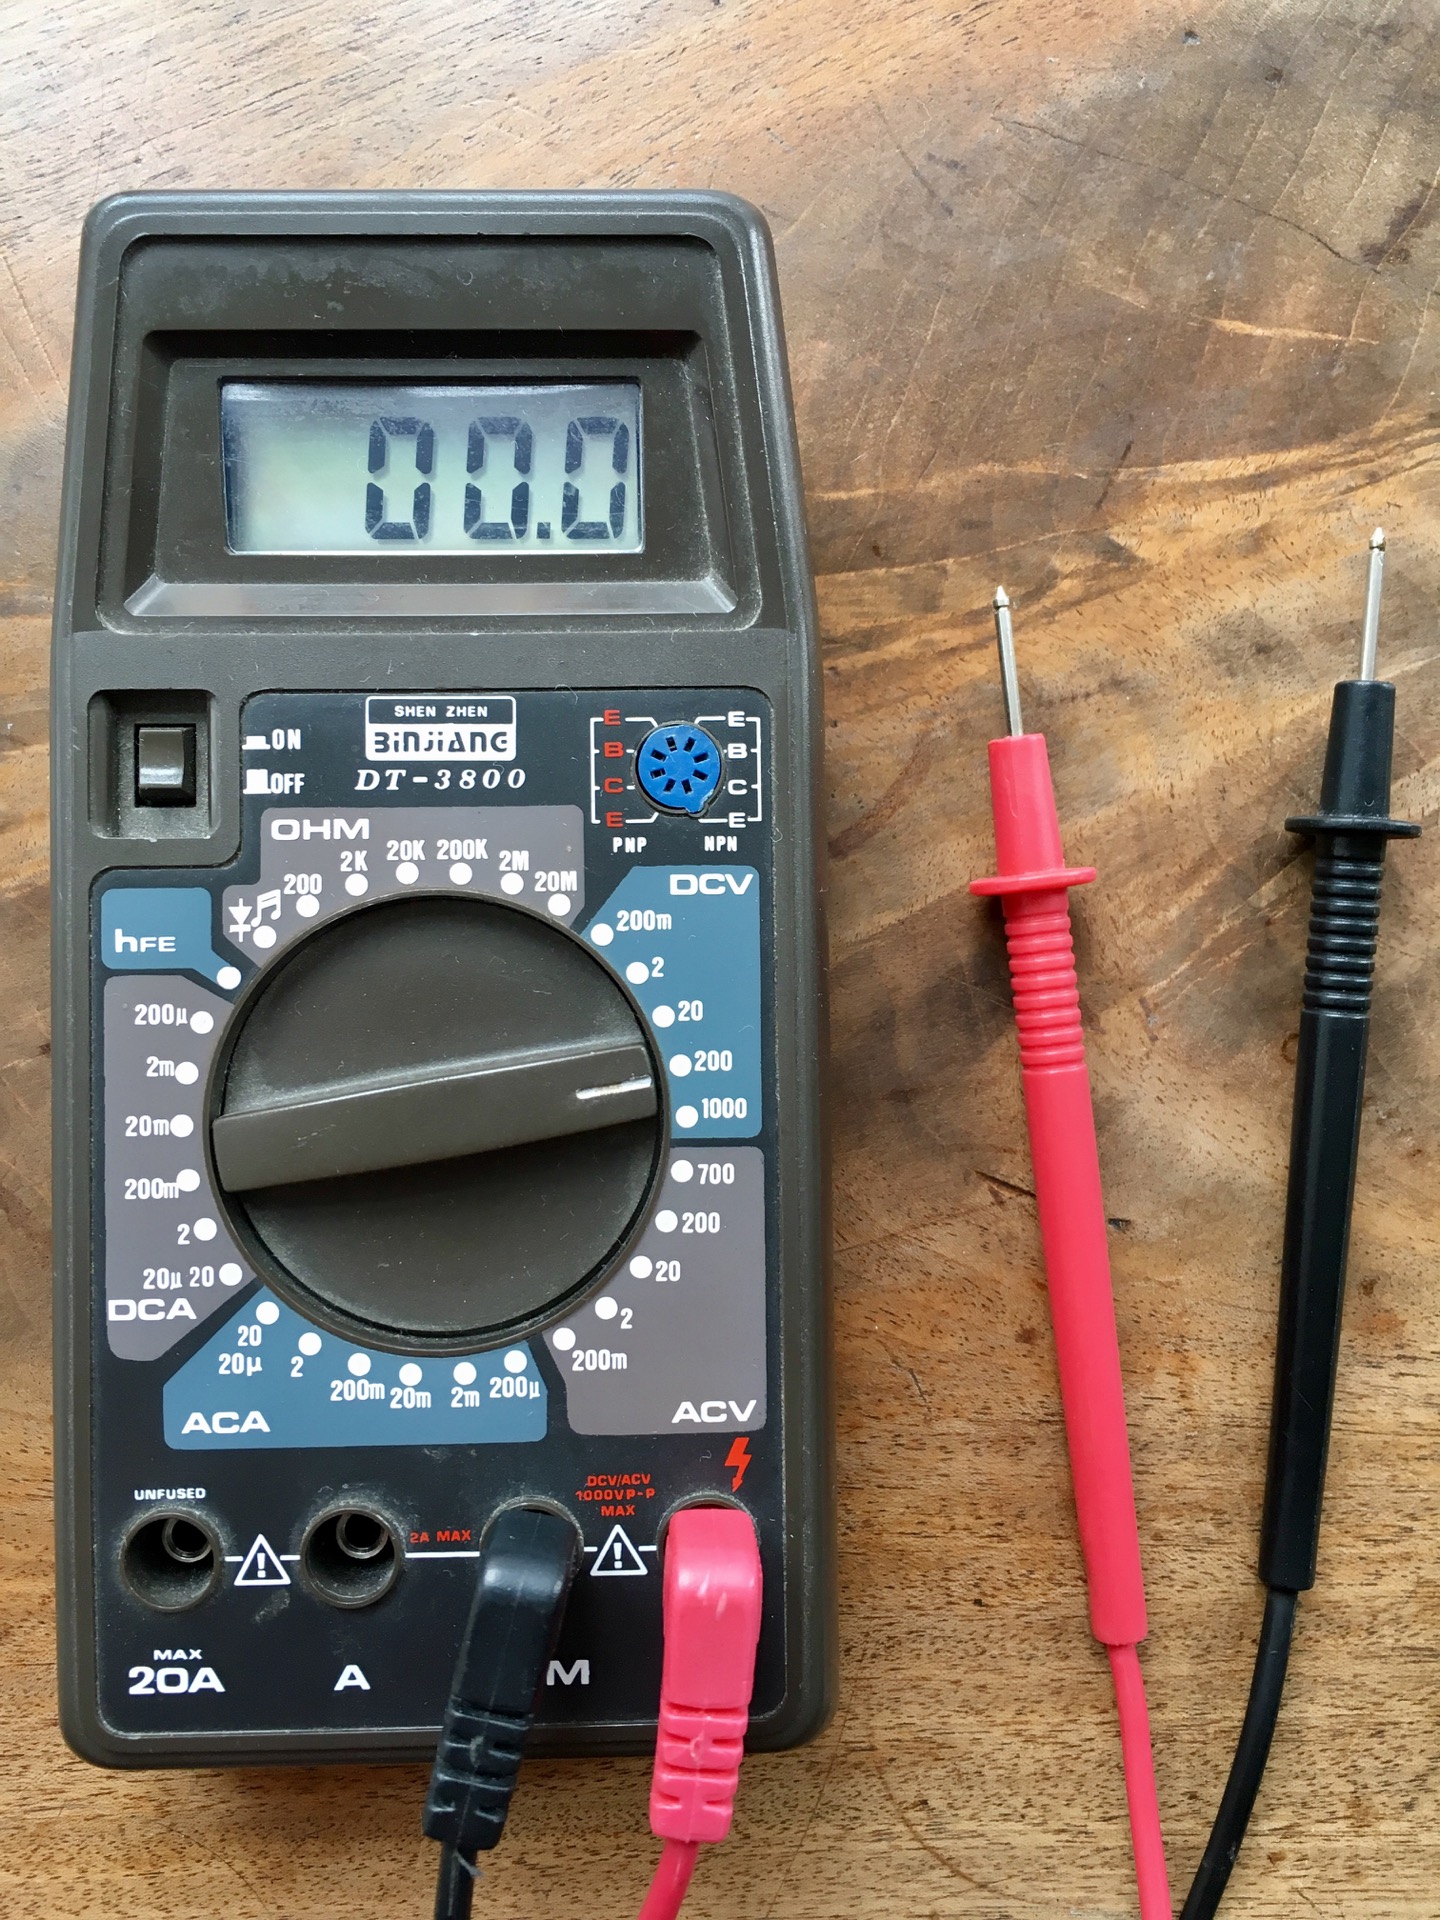
My First Multimeter: “DT-3800” From 1990

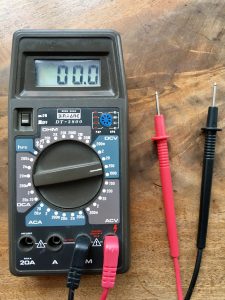
This is my very first multimeter. I bought it in 1990 when I was 14 years old. Back then it cost DM50,- (Deutsche Mark in West Germany). It still works, though I don’t really use it anymore. Its best feature is its instant continuity buzzer.
8)
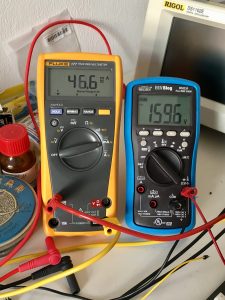
Today I use a Fluke 177 and the EEVblog multimeter.

My DT-3800 multimeter is still working.

Fluke 177 and EEVblog’s Brymen 235

RF-Explorer

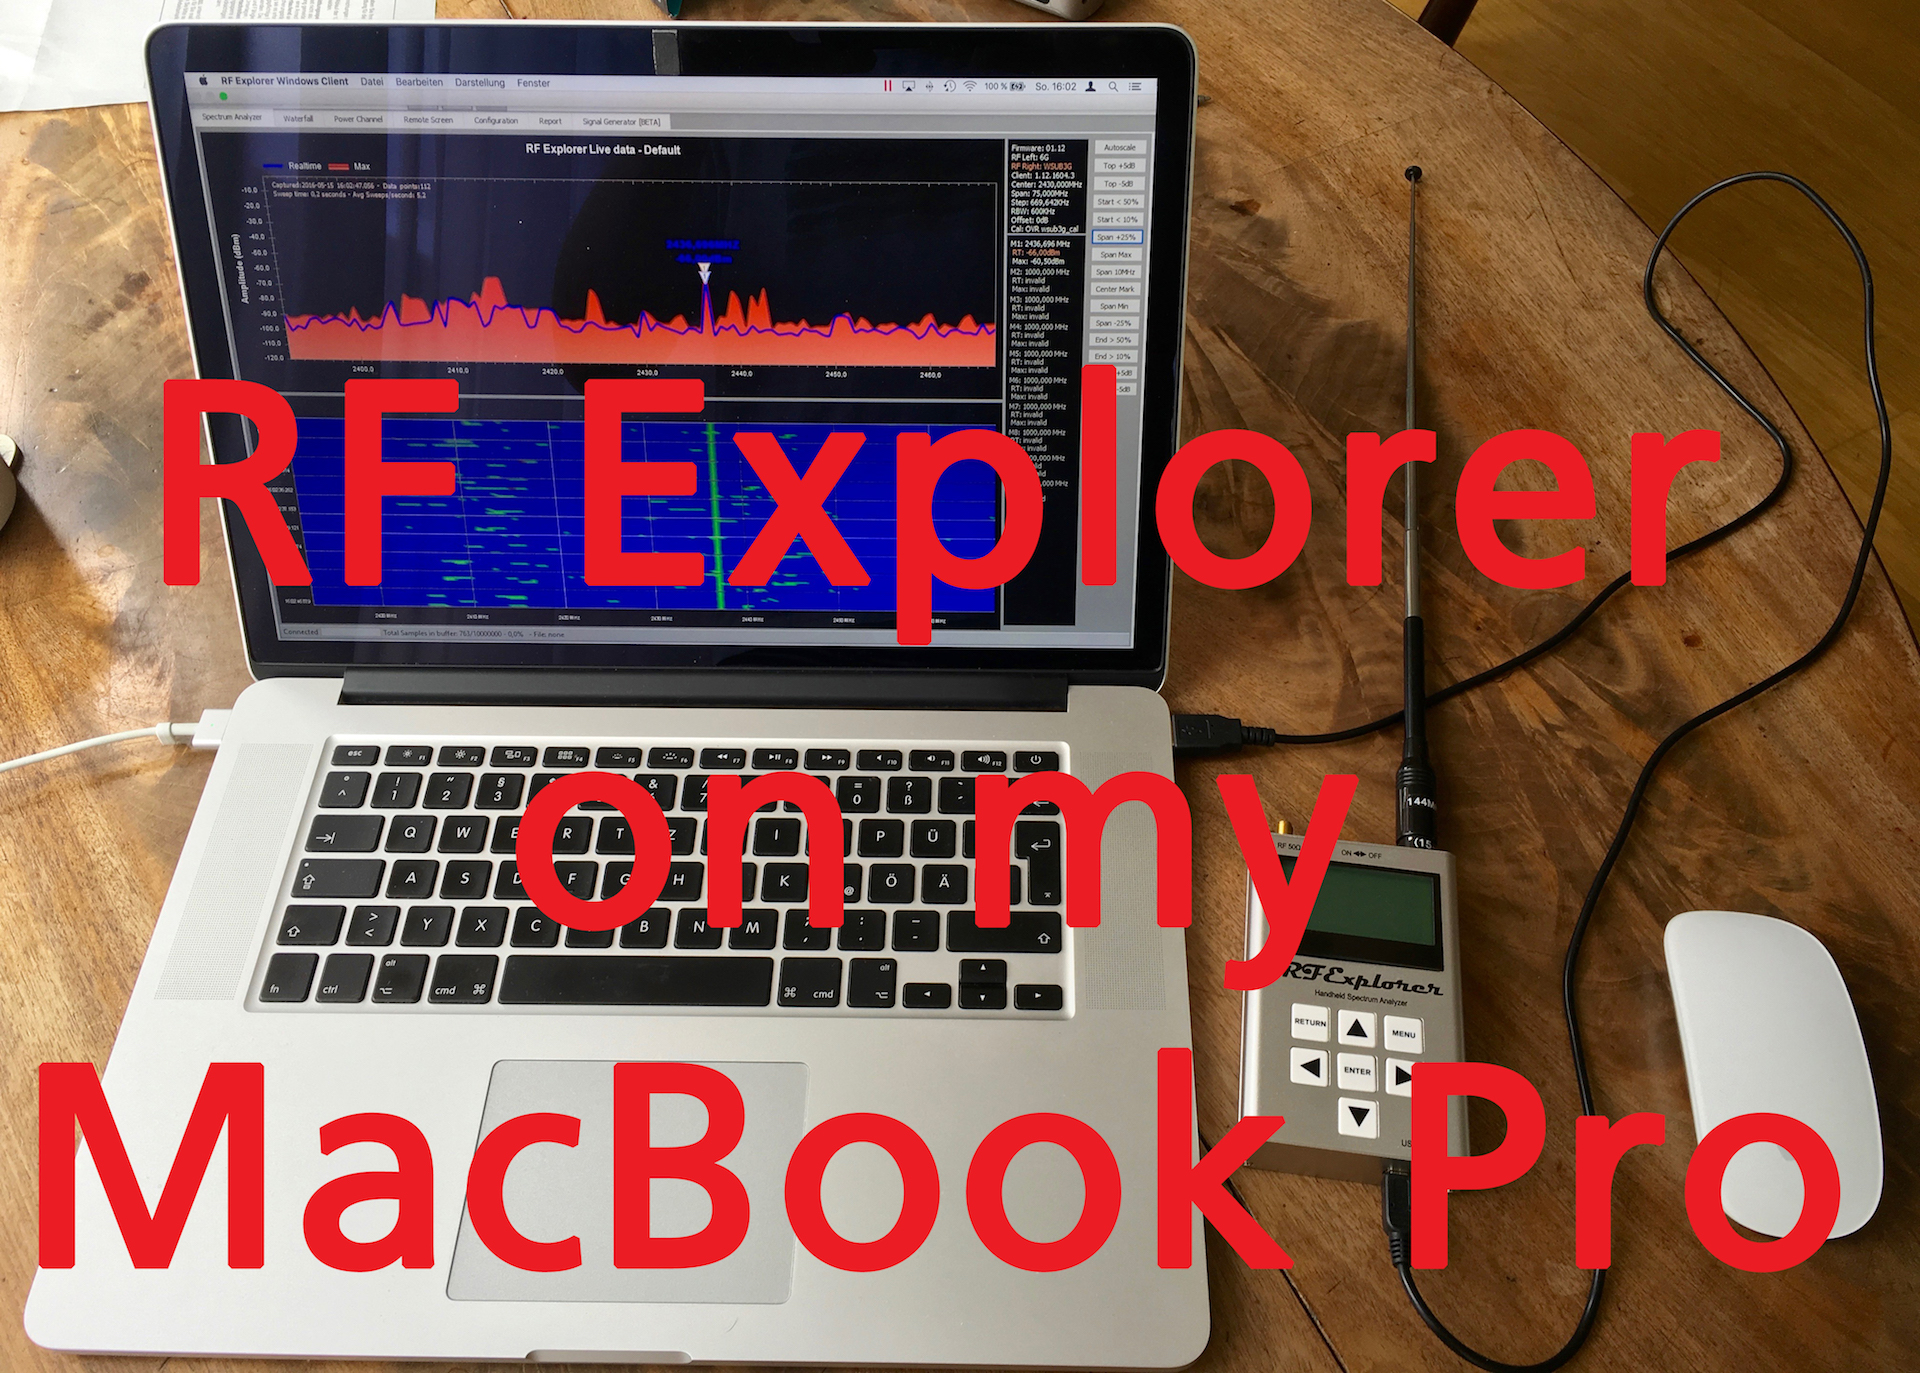
My newest favourite tool is the RF-Explorer 6G combo. I originally bought it to check out the frequemcies for the wireless lav mics I work with as a sound guy on set for tv and movies. But it turns out that the thing is also great for checking 5.8GHz channels when flying FPV with friends.


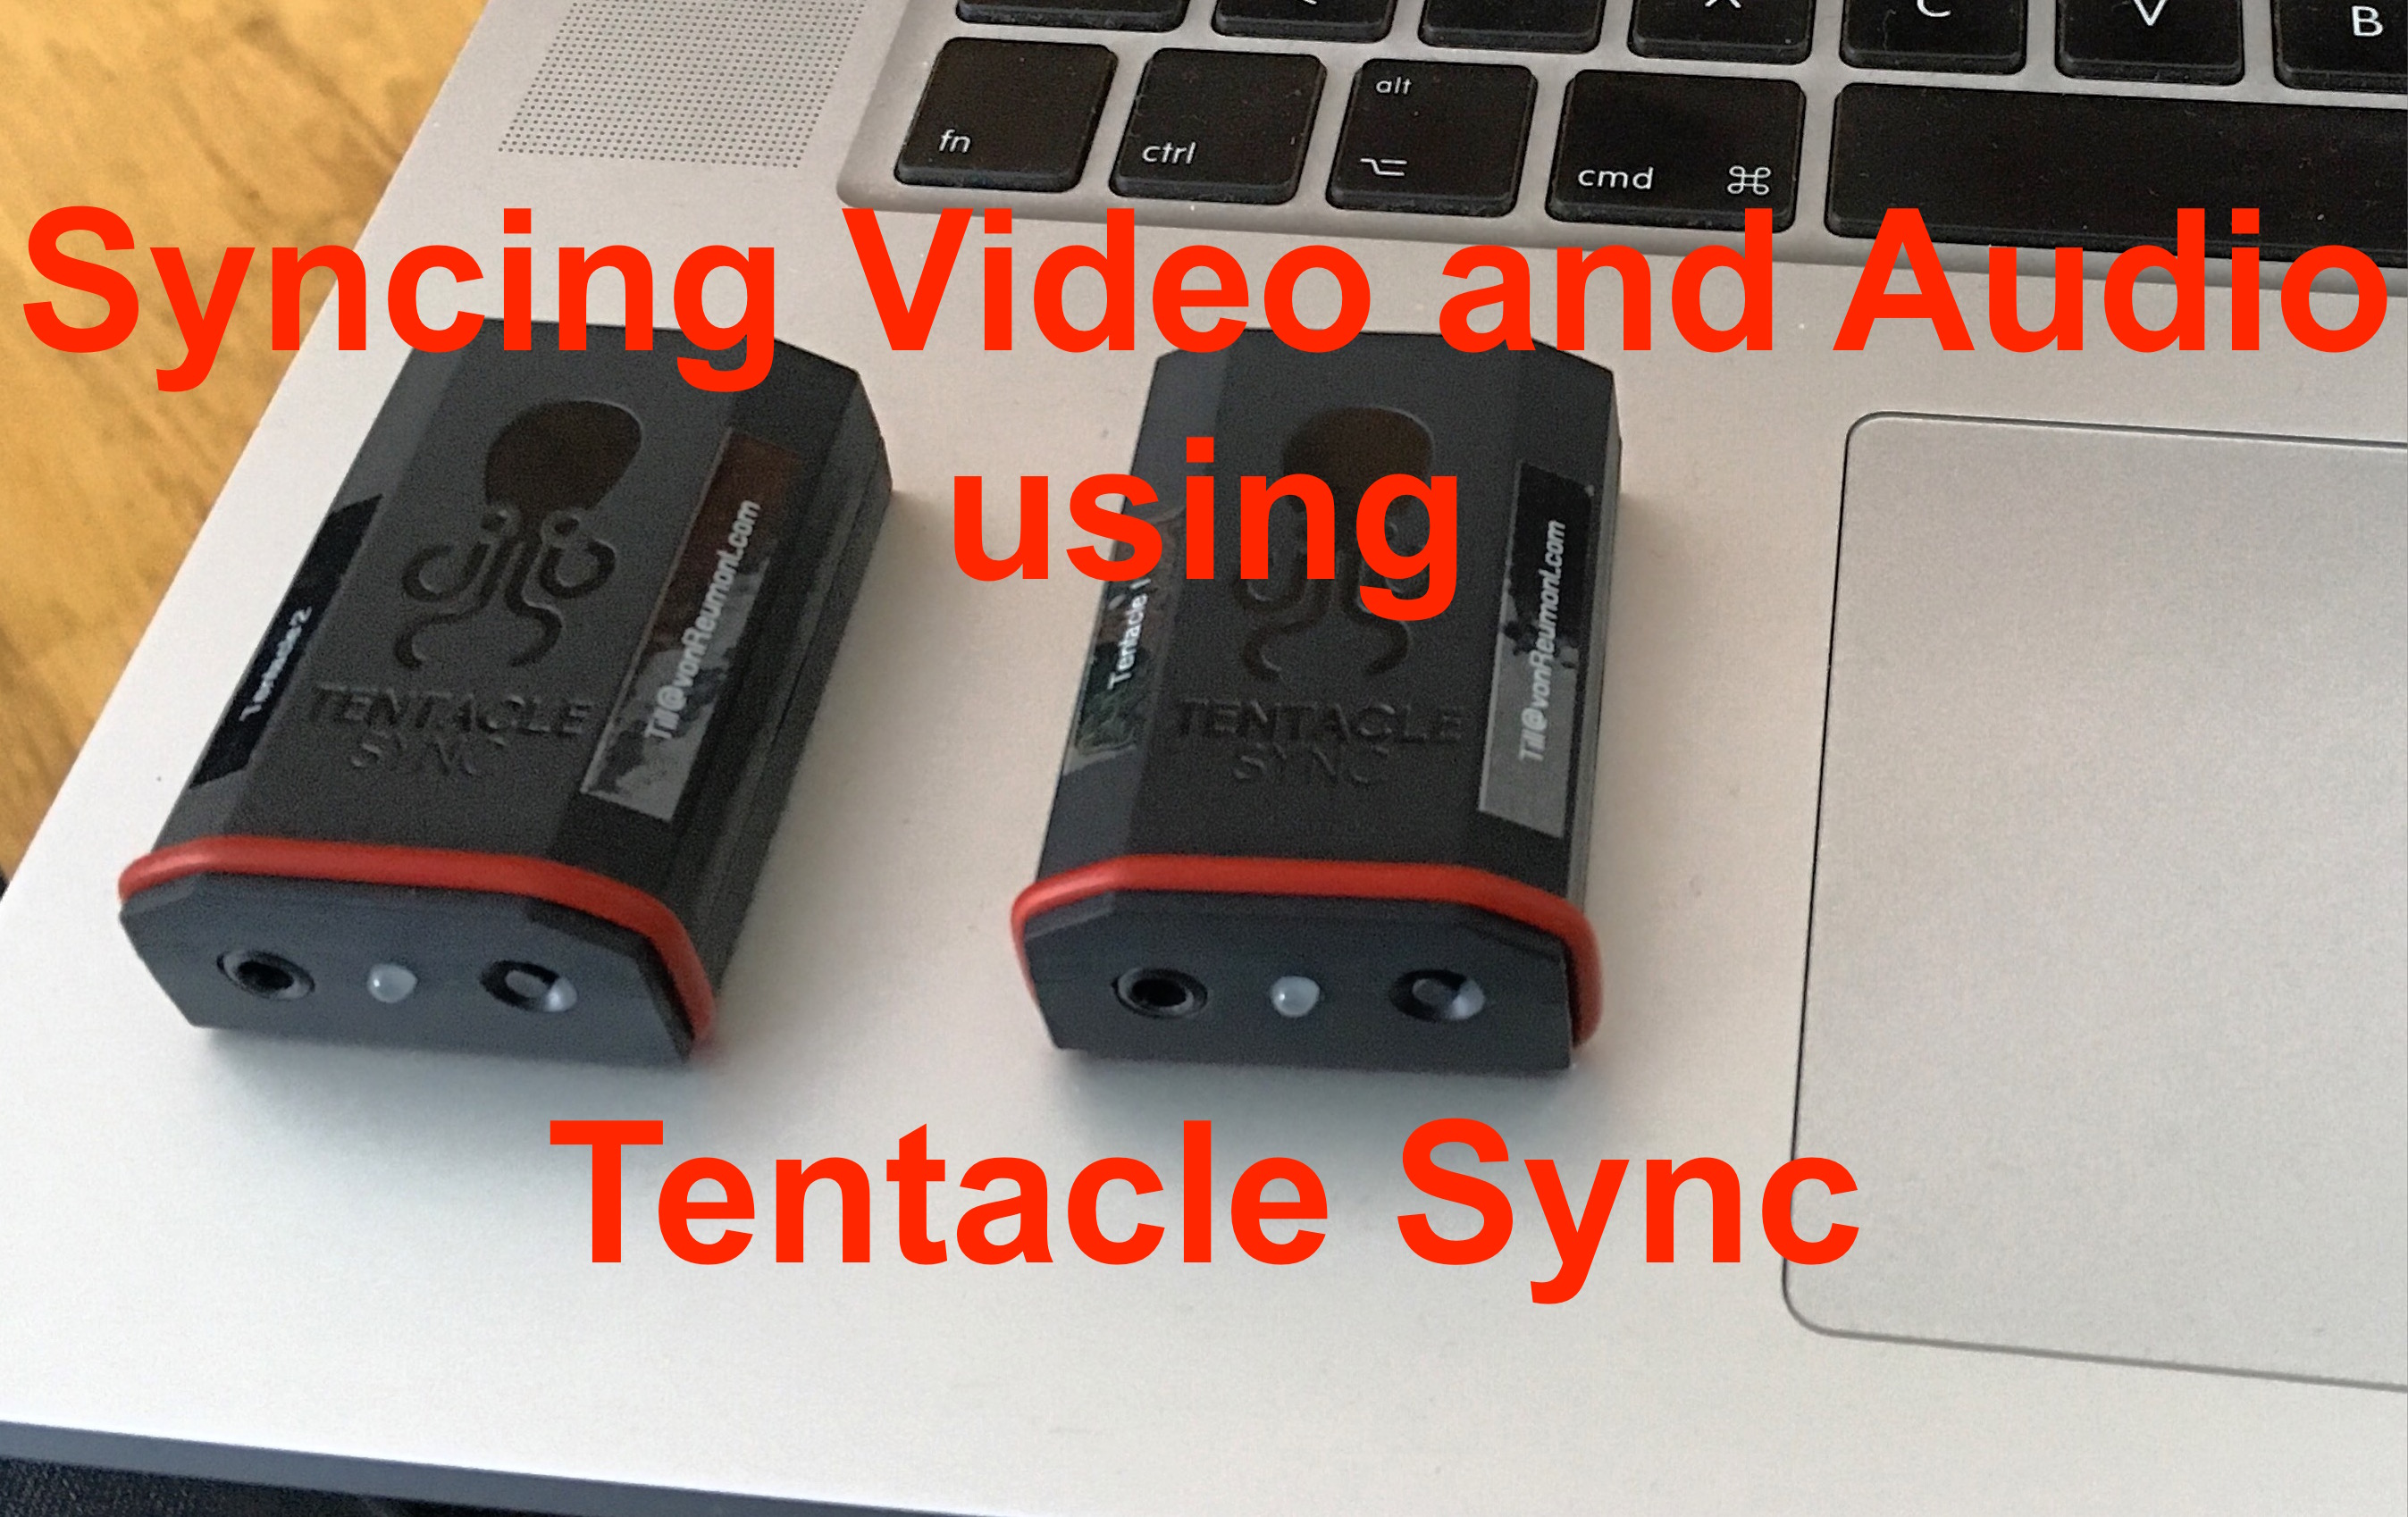
Syncing Video and Audio using Tentacles

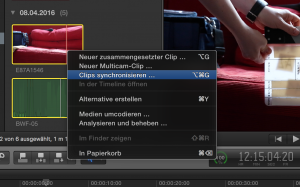
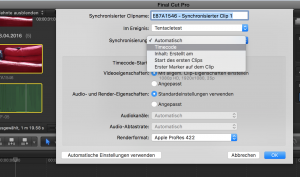
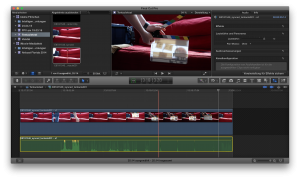
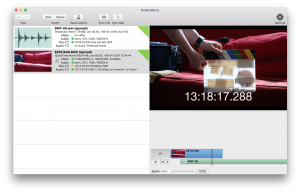
Testing Tentacles to synchronize via Timecode the video files of my Canon 5D Mark III DSLR to the sound files of my Tascam HD-P2 audio recorder. The camera doesn’t have a TC input, so I record it to the mic input on one of the camera’s audio tracks. The HD-P2 however has a real TC input so I set it to slave to the external TC. In Final Cut Pro the two clips couldn’t be made to match, no matter what I tried. Using the Tentacle Sync software supplied with their hardware however it was really quick to export a perfect clip!
Load the Tentacle Software at Tentacle’s Homepage and have a go with my two original files that you can download here:

[download_link link=”http://mixedtinkerings.com/wp-content/uploads/2016/04/BWF-05.wav”]Audio File[/download_link]

[download_link link=”http://mixedtinkerings.com/wp-content/uploads/2016/04/E87A1546.MOV”]Video File[/download_link]

DIY Coat Rack

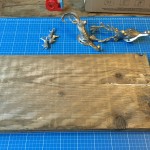
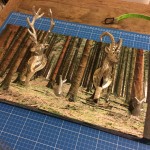
This year for christmas I built a nice coat rack as a present for my sister. I thought I’d just share the idea. It’s actually really simple. All you need is

  • a wooden board
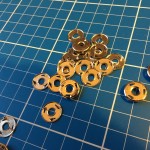
  • some nice-looking hooks
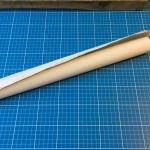
  • a decorative piece of fabric or a photo that is a little larger than the piece of wood
  • screws to mount the board on your wall

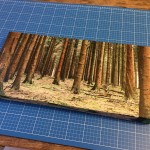
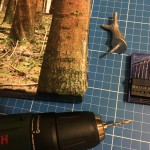
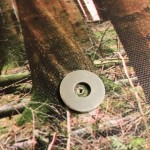
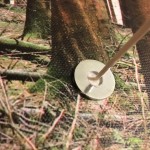
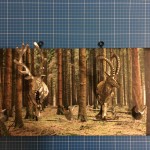
I chose to use a phot that I had taken myself some time ago in the woods and get some decorative hooks that matched the woods theme. Download [download_link link=”http://mixedtinkerings.com/wp-content/uploads/2015/12/Walde-Watermarked.jpg”]my photo[/download_link] if you want to use it.

Walde-Watermarked

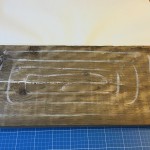
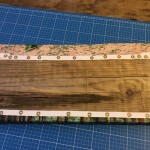
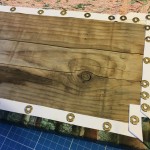
Simply wrap your wooden board in the piece of cloth or fabric or photo, add some hooks for coats and screw in some loops or lugs so the whole thing can be hung on the wall.

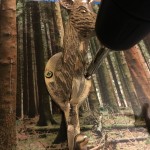
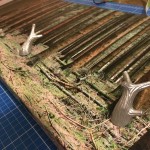
This is what mine came out looking like:

Dead Woofer in Opera Active PA Speaker

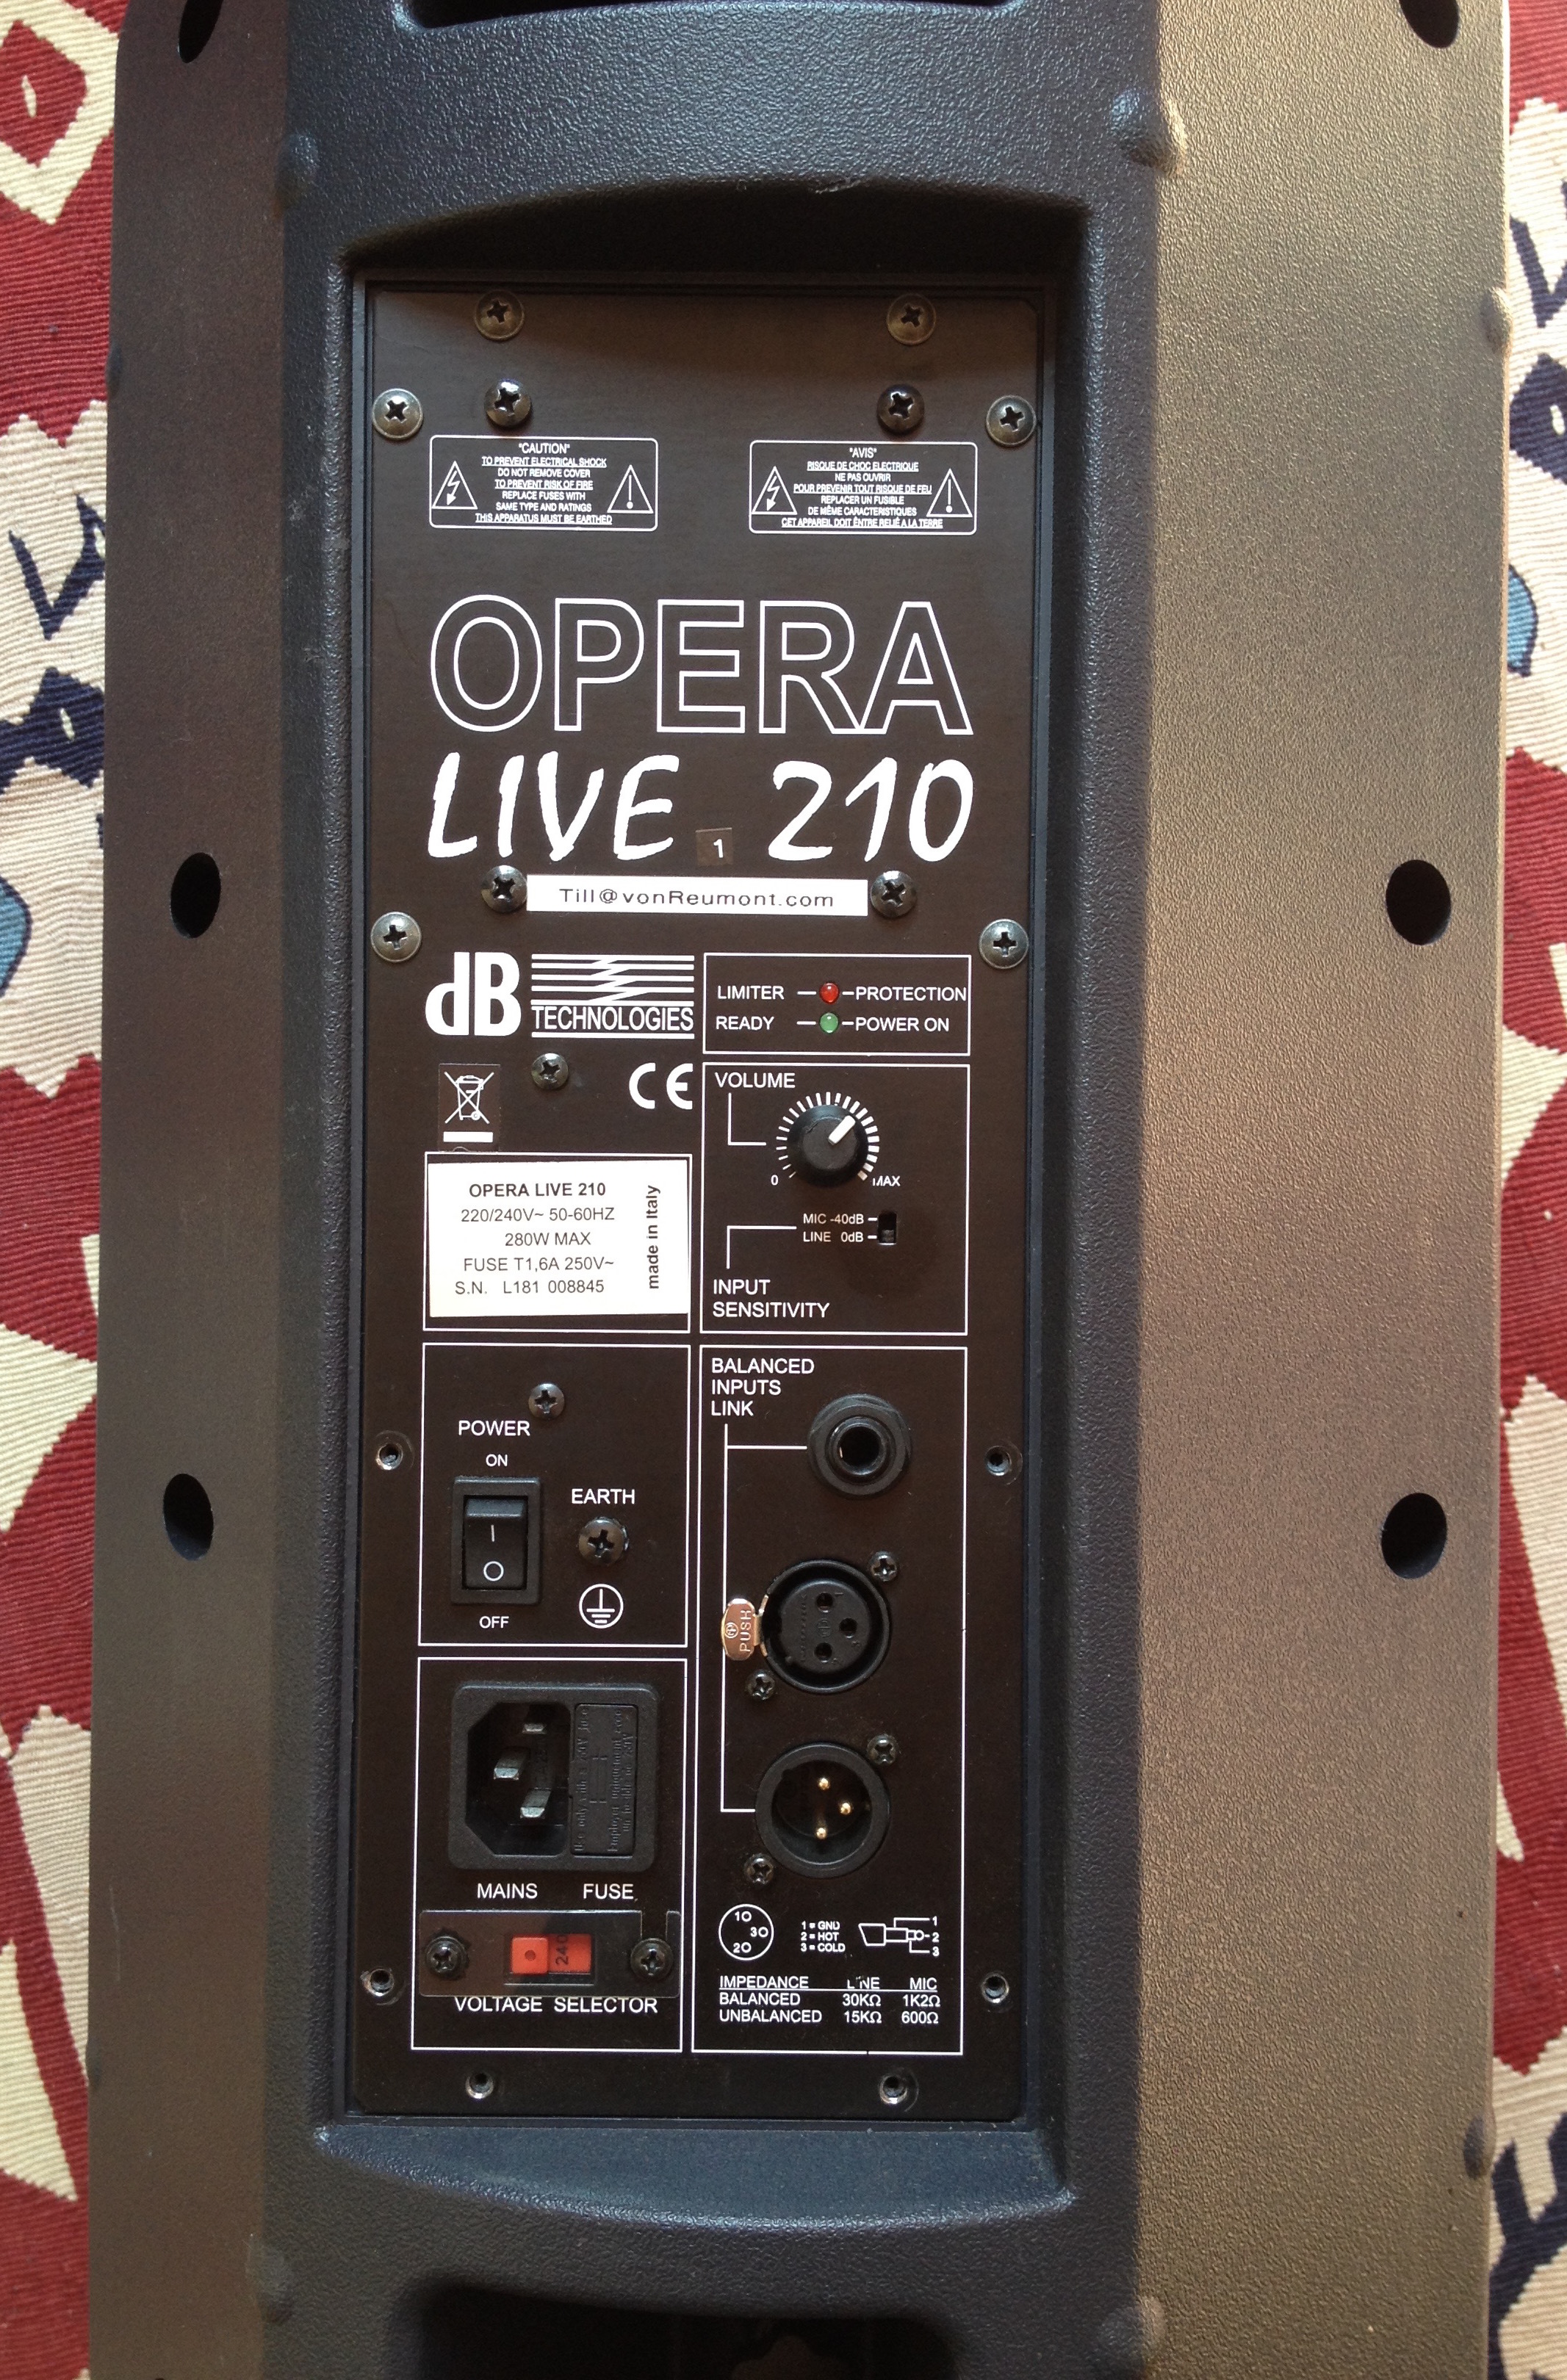
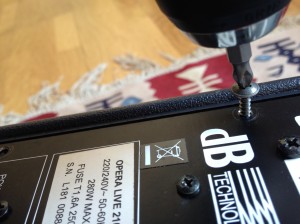
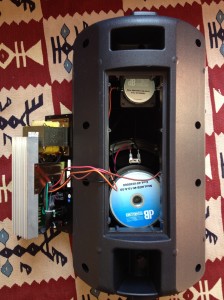
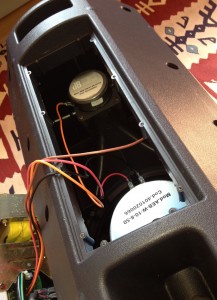
The other day I got my two Opera Live 210 active PA speakers out and I noticed that in one of them only the tweeter was working. Oh no! So I decided to take it apart since it is way too old to be eligible for warranty. I was really surprised how well designed they are! Everything is neat and clean and almost as if they are made to be taken apart. What I found though was’nt that cool: I measured resistance of the speaker coil in the woofer with my multimeter and got an incredibly low .6Ω. Well I guess that means that it is practically shortened, probably in an overload situation. That’s very strange since these speakers are active and have a built-in overload-protection-circuit. I guess it didn’t work so well. ;-( To see if the part of the active amplifier that drives this speaker still works I hooked up my multimeter to its outputs without the woofer being connected. Turning the volume up or down didn’t change the displayed 0V. My guess is that this means that the short in the woofer also killed the amp in the process. That’s really too bad, because I really liked these speakers. They are no longer manufactured.

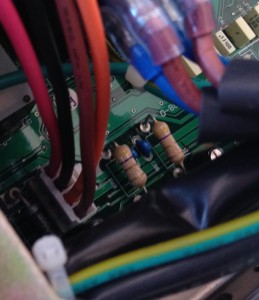
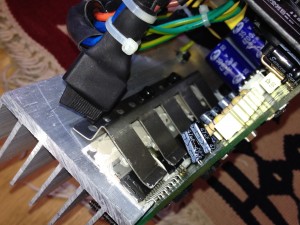
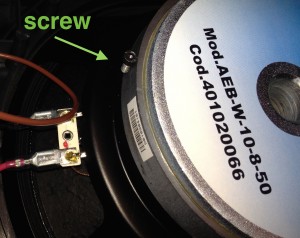
One funny thing I also found is that some screws had come loose over the years. They are used to mount the OpAmps to a cooling brick. One of those three screws had vanished so I looked around inside the case and I found it: it was clinging to the speaker’s magnet!

Listen to the awful sound of only a tweeter. I recorded the speaker before taking it apart:

Vandal Spur Gear Protection

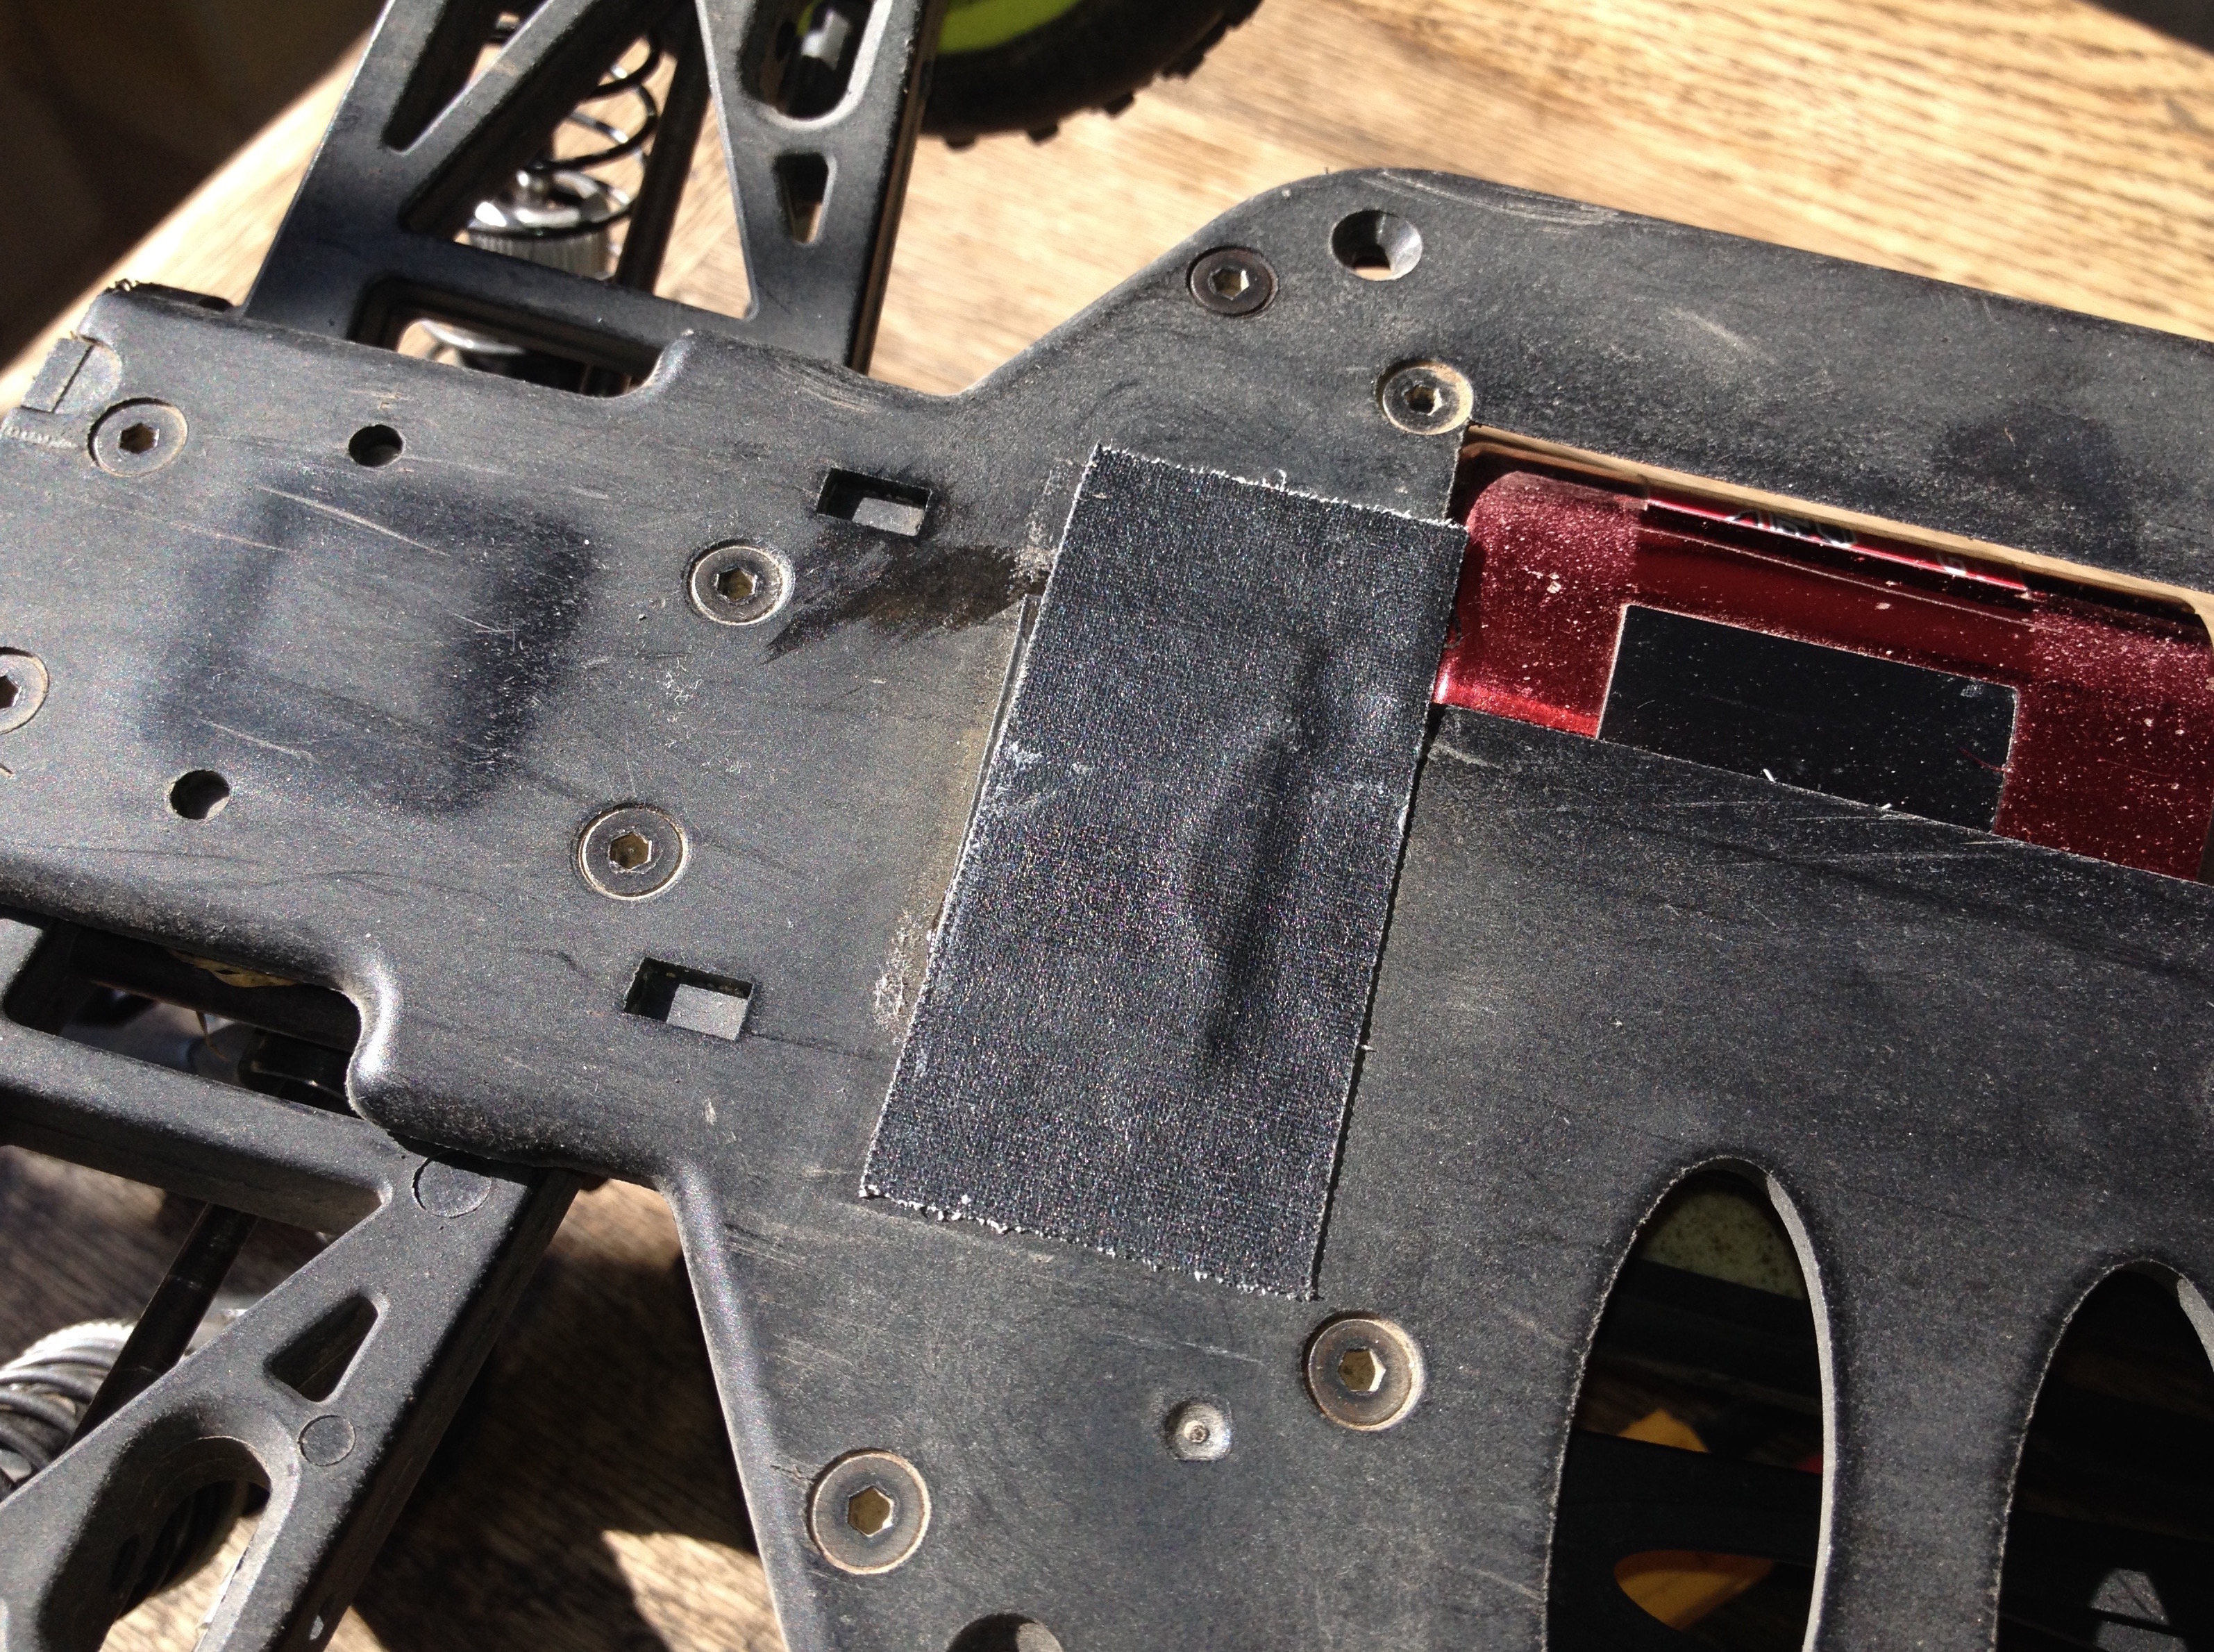
Because the Vandal’s spur gear always drags in the dirt when racing this awesome car it is subject to significant wear. To protect it a little bit from the sand I cut out a tiny piece of plastic that I glued to the bottom of the chassis frame with some CA and then covered it with duct tape. I hope it lasts longer this way.

plastic glued on w/CA
added duct tape
added duct tape

Vandal: loose screws

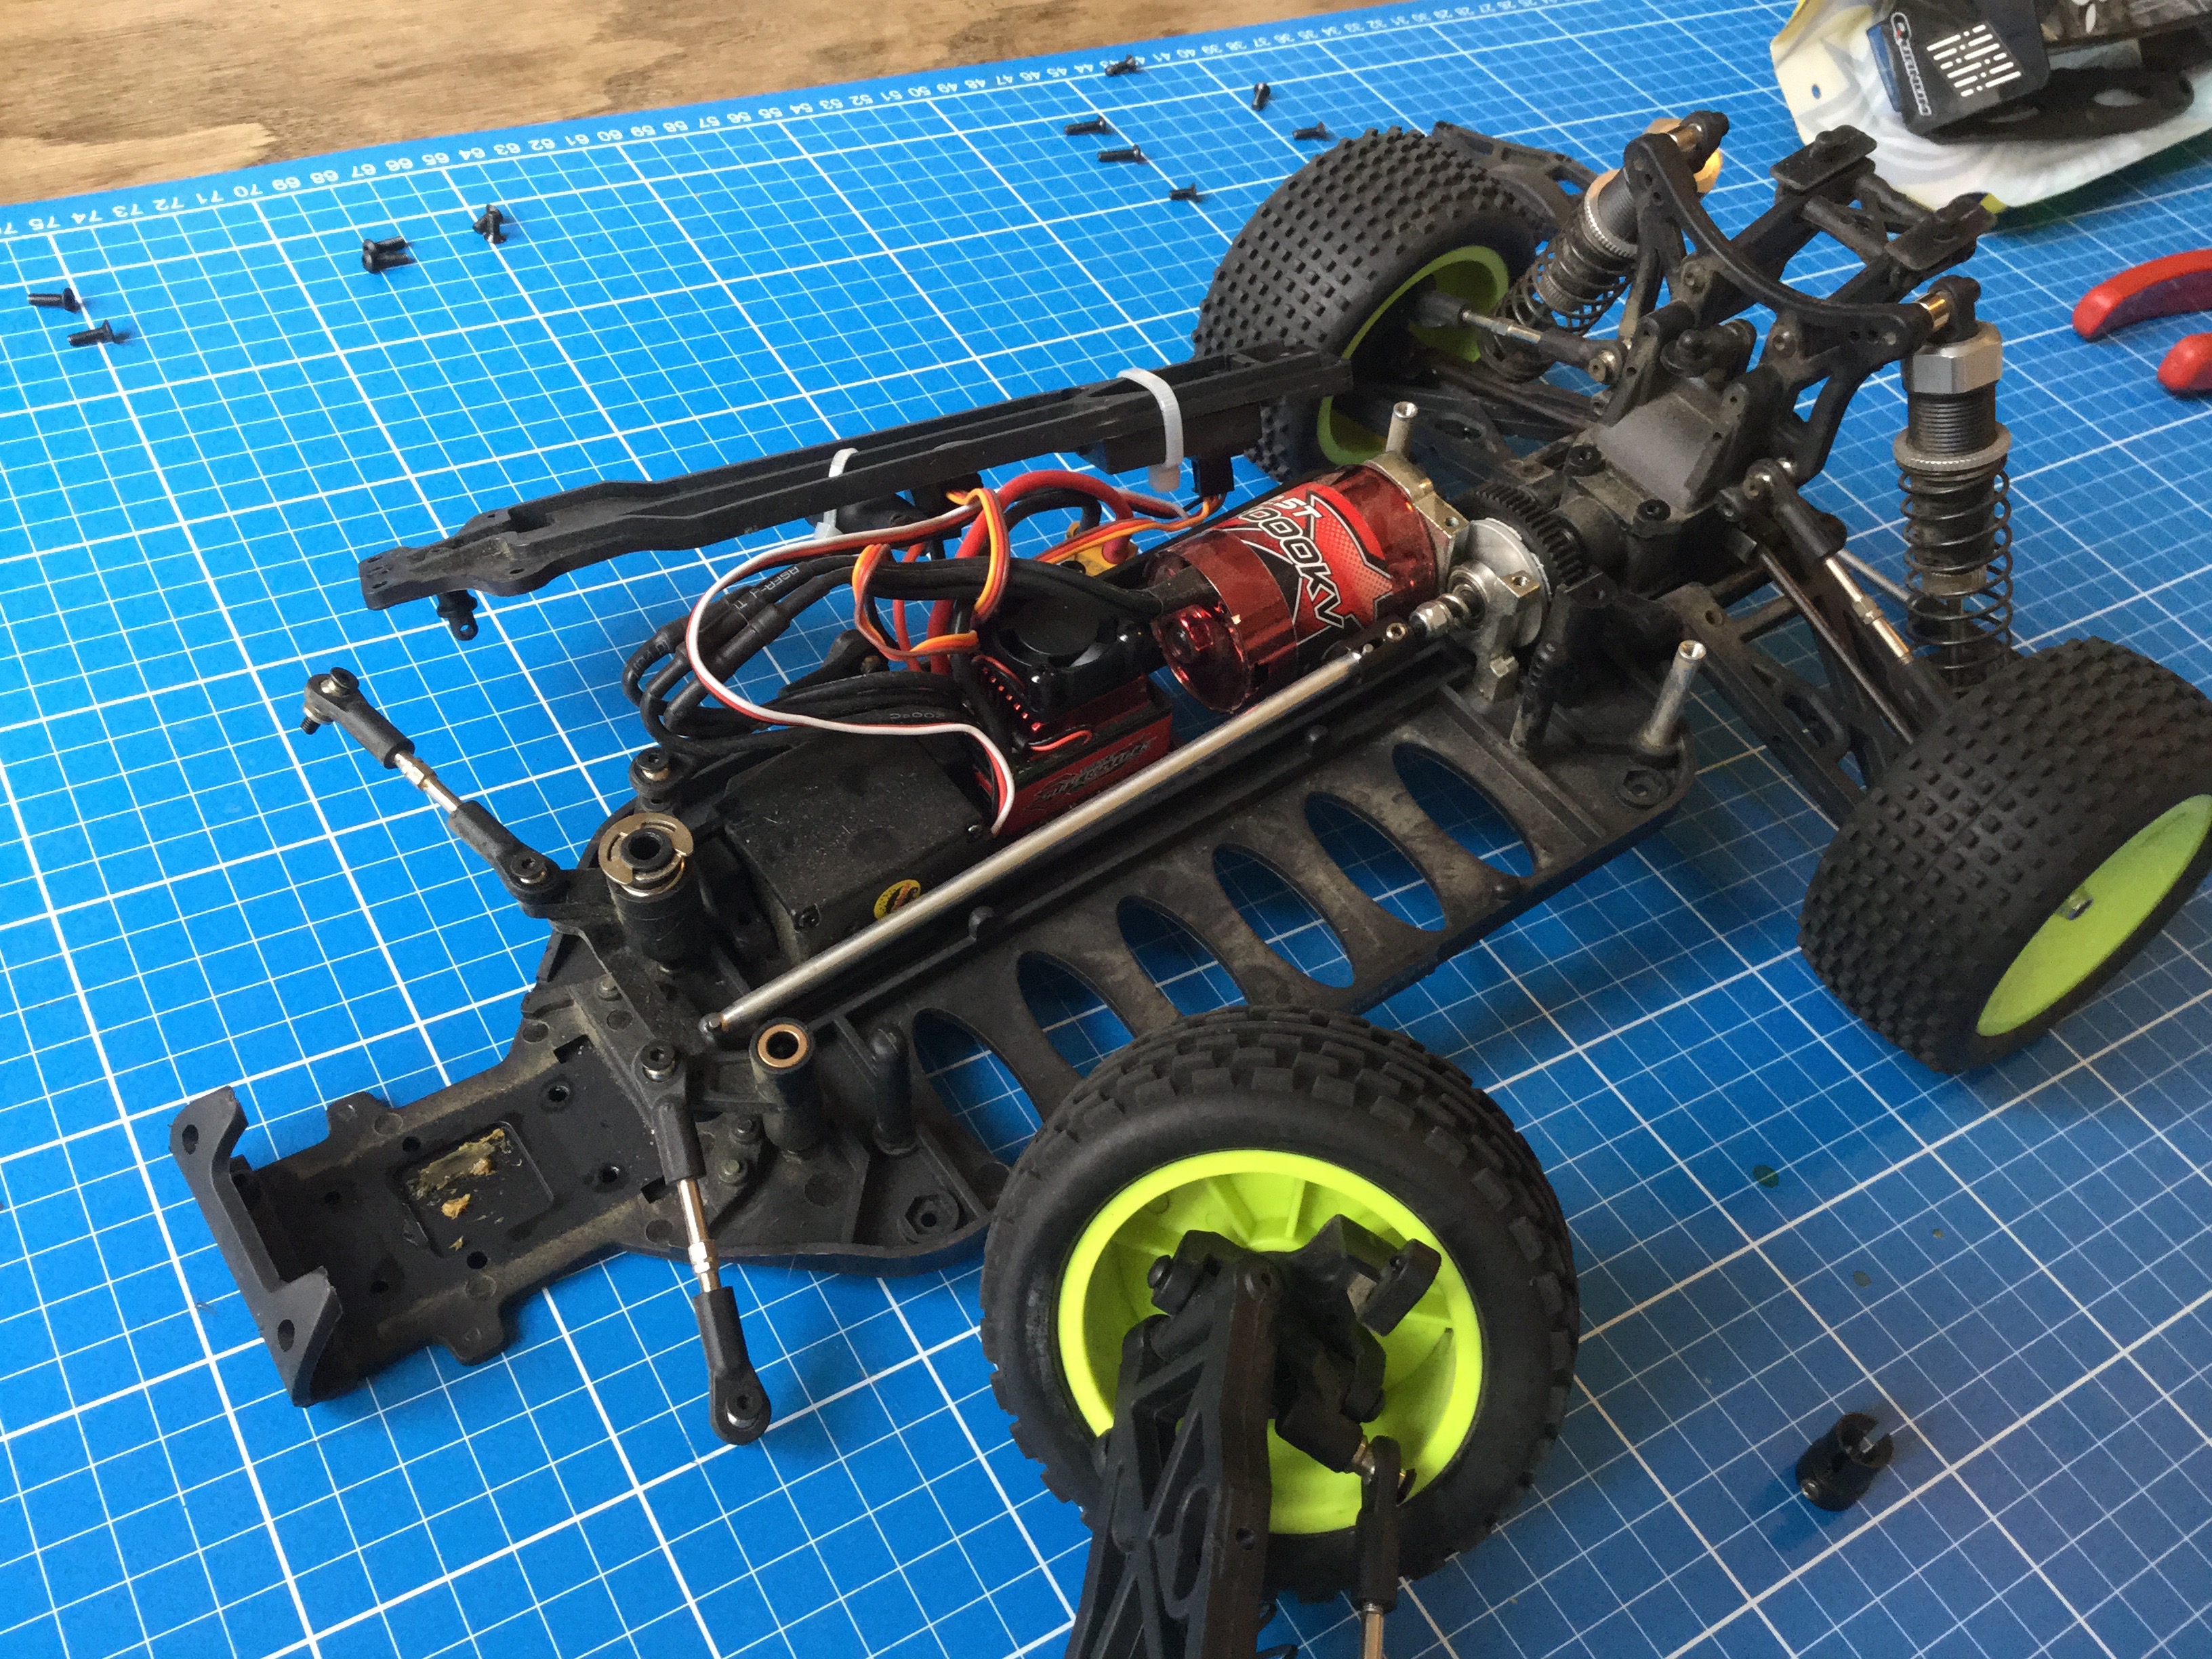
After my first ride with the Vandal yesterday, the front wheels had lost power. I figured something must gone wrong with the front diff. So today I opened up the Vandal and discovered, the screw that holds the drive shaft to the gear box simply had come loose.